
Following the Ubuntu guide, this time, I’ll cover the Windows version.
For Stable Diffusion, we’ll be using A1111 (Automatic1111).
Let me clarify upfront: This is NOT using DirectML.
We’re using oneAPI instead.
So, make sure to install the latest graphics drivers whenever possible.
For this guide, I’m using driver version 101.6319 (as of December 11, 2024).
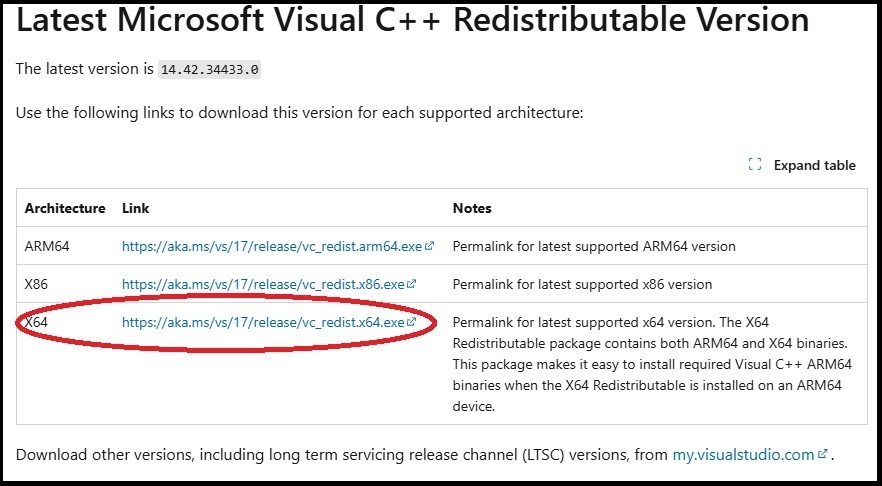
Before proceeding, you need to install the Microsoft Visual C++ Redistributable package.
https://learn.microsoft.com/en-us/cpp/windows/latest-supported-vc-redist?view=msvc-170#visual-studio-2015-2017-2019-and-2022
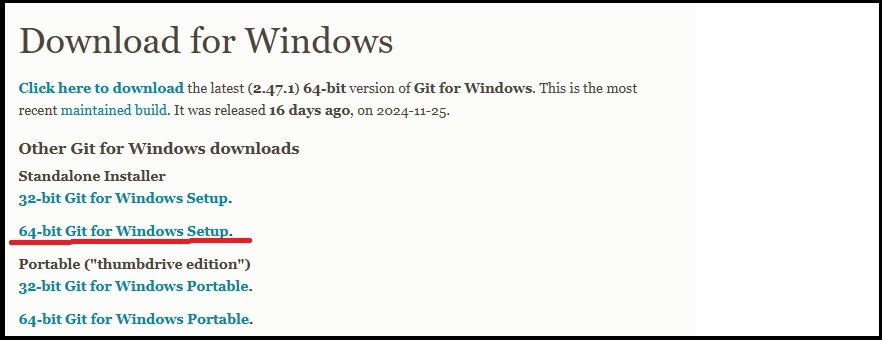
The next step is to install Git.
https://git-scm.com/downloads/win
Next, install Miniconda.
Download an appropriate installer from the following link:
https://repo.anaconda.com/miniconda/
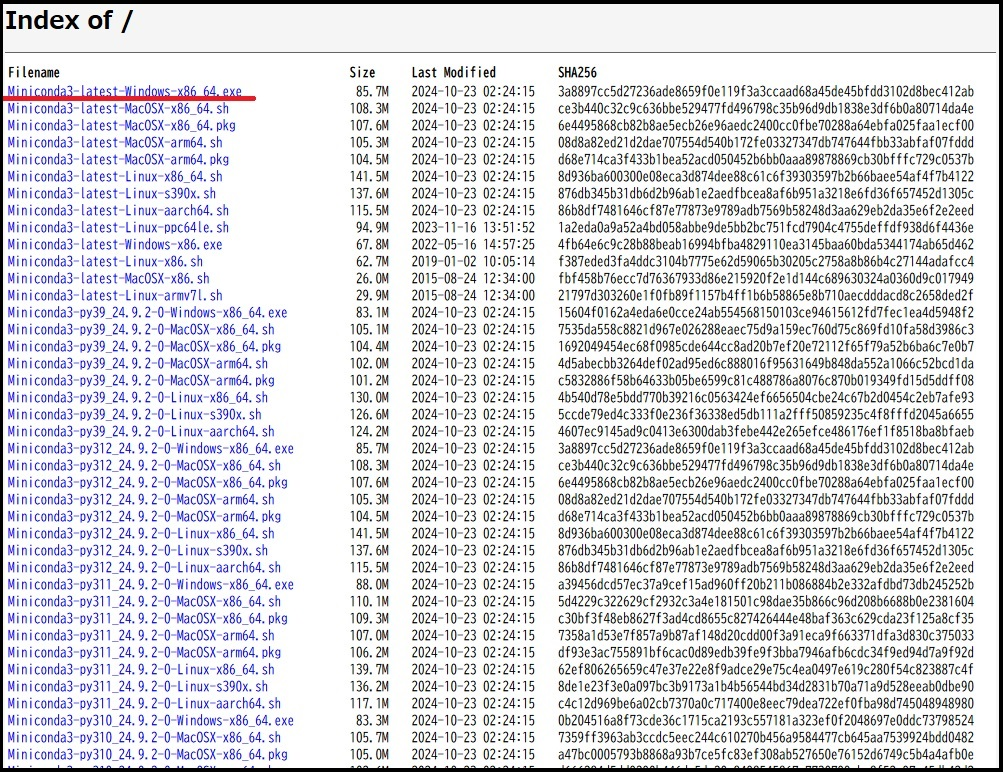
For this guide, I used the first option listed:
Miniconda3-latest-Windows-x86_64.exe.
Once installed, “Anaconda Prompt” will be added to the Start menu.
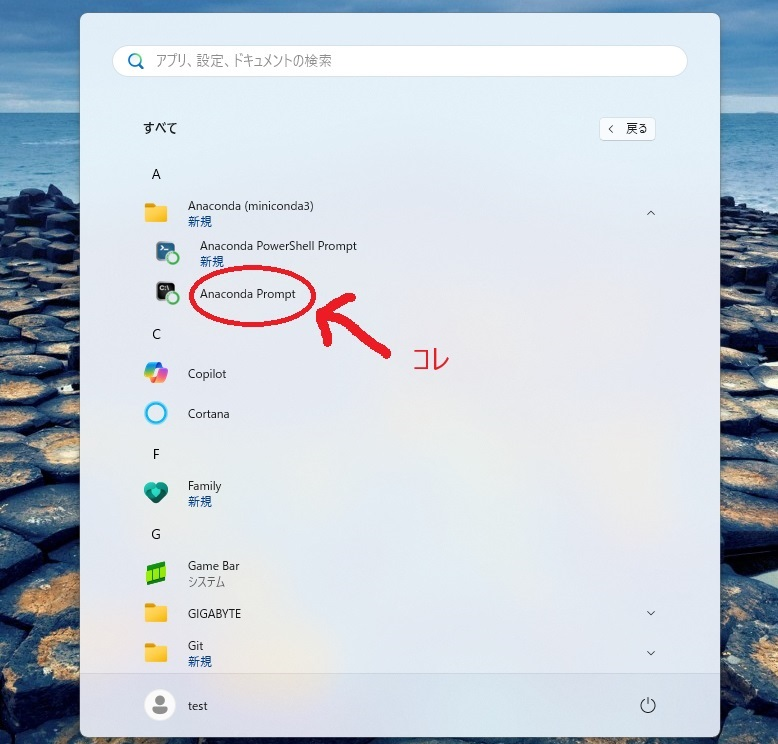
Run Anaconda Prompt.
Set Up the Conda Environment
Enter the following commands in Anaconda Prompt to set up and activate the Conda environment:
Create a Conda environment for a1111:
conda create -n a1111 python=3.10.6Activate the Conda environment:
conda activate a1111Clone the Stable Diffusion Repository
Next, download the Stable Diffusion WebUI (A1111) by running:
git clone https://github.com/AUTOMATIC1111/stable-diffusion-webui A1111Then, move into the downloaded directory:
cd A1111Set Up a Virtual Environment
Create a virtual environment using venv:
python -m venv venvActivate the virtual environment:
venv\Scripts\activate.batInstall PyTorch
Next, install PyTorch by following the instructions on the official Intel website:
https://intel.github.io/intel-extension-for-pytorch/index.html#installation?platform=gpu
Follow the steps provided on the page to install PyTorch with Intel GPU support.
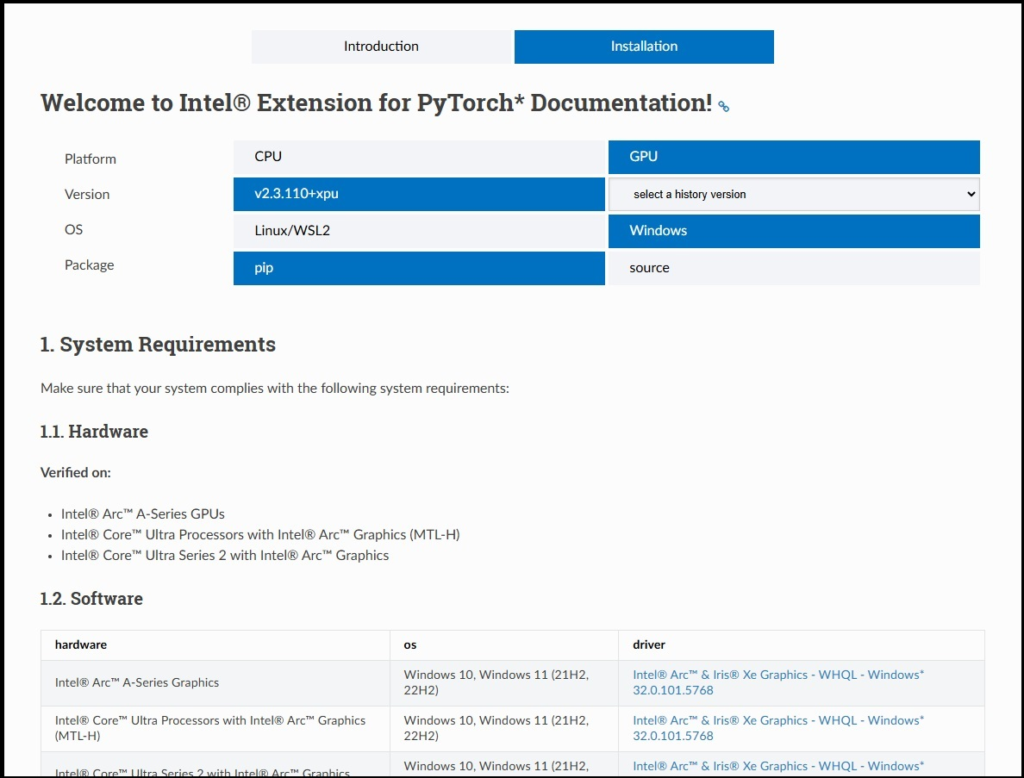
Follow the steps provided on the page and select the appropriate options as shown in the screenshot above.
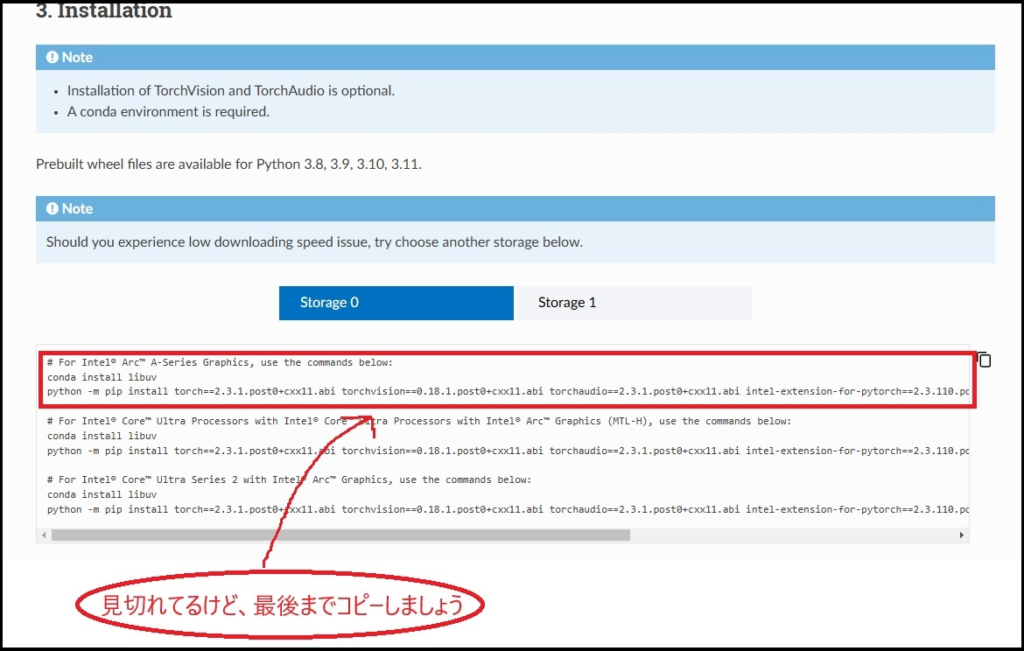
Install libuv
First, install libuv using Conda:
conda install libuvInstall Intel GPU-Optimized PyTorch
Next, install the Intel GPU-optimized version of PyTorch with the following command:
python -m pip install torch==2.3.1.post0+cxx11.abi torchvision==0.18.1.post0+cxx11.abi torchaudio==2.3.1.post0+cxx11.abi intel-extension-for-pytorch==2.3.110.post0+xpu --extra-index-url https://pytorch-extension.intel.com/release-whl/stable/xpu/us/As of December 11, 2024, this was the latest version.
However, depending on when you’re reading this, the installation script may have changed, so be sure to check the official Intel documentation for updates.
Troubleshooting Installation Issues
Update (December 13, 2024):
When running the above command on December 13, I encountered an error due to an inaccessible server.
If you face the same issue, try switching the server by using this alternative command:
python -m pip install torch==2.3.1.post0+cxx11.abi torchvision==0.18.1.post0+cxx11.abi torchaudio==2.3.1.post0+cxx11.abi intel-extension-for-pytorch==2.3.110.post0+xpu --extra-index-url https://pytorch-extension.intel.com/release-whl/stable/xpu/cn/This method worked successfully in my case.
Run Stable Diffusion
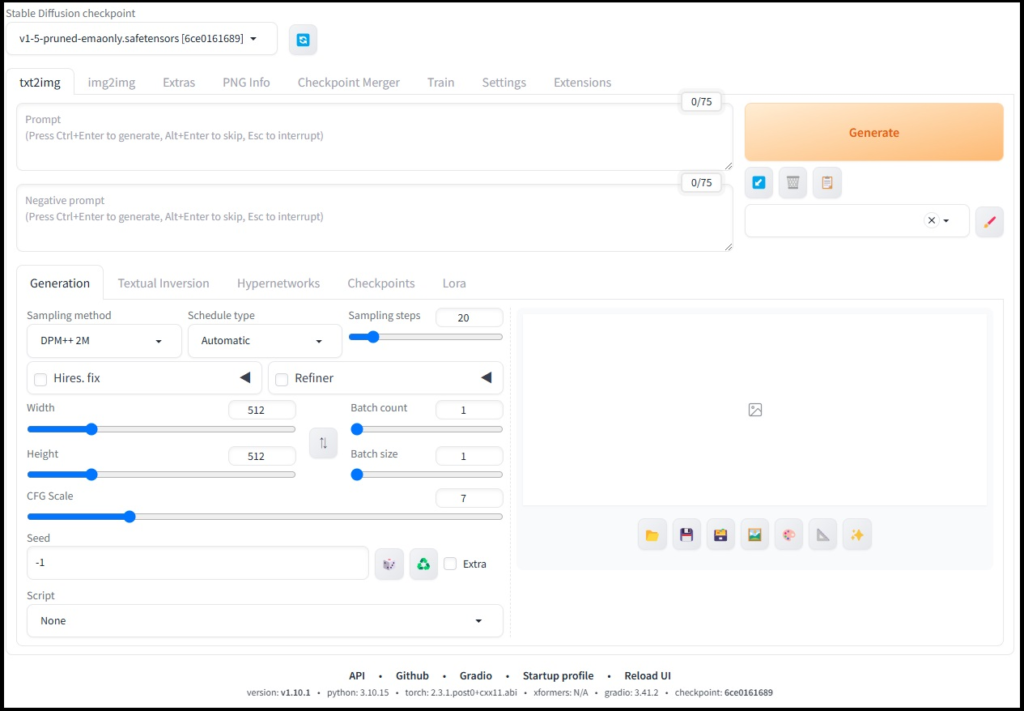
Once PyTorch is installed, you can run Stable Diffusion with the following command:
webui.bat --use-ipexThis will launch the Stable Diffusion WebUI with Intel IPEX optimizations.
Benchmarking with “Hello Asuka Bench”
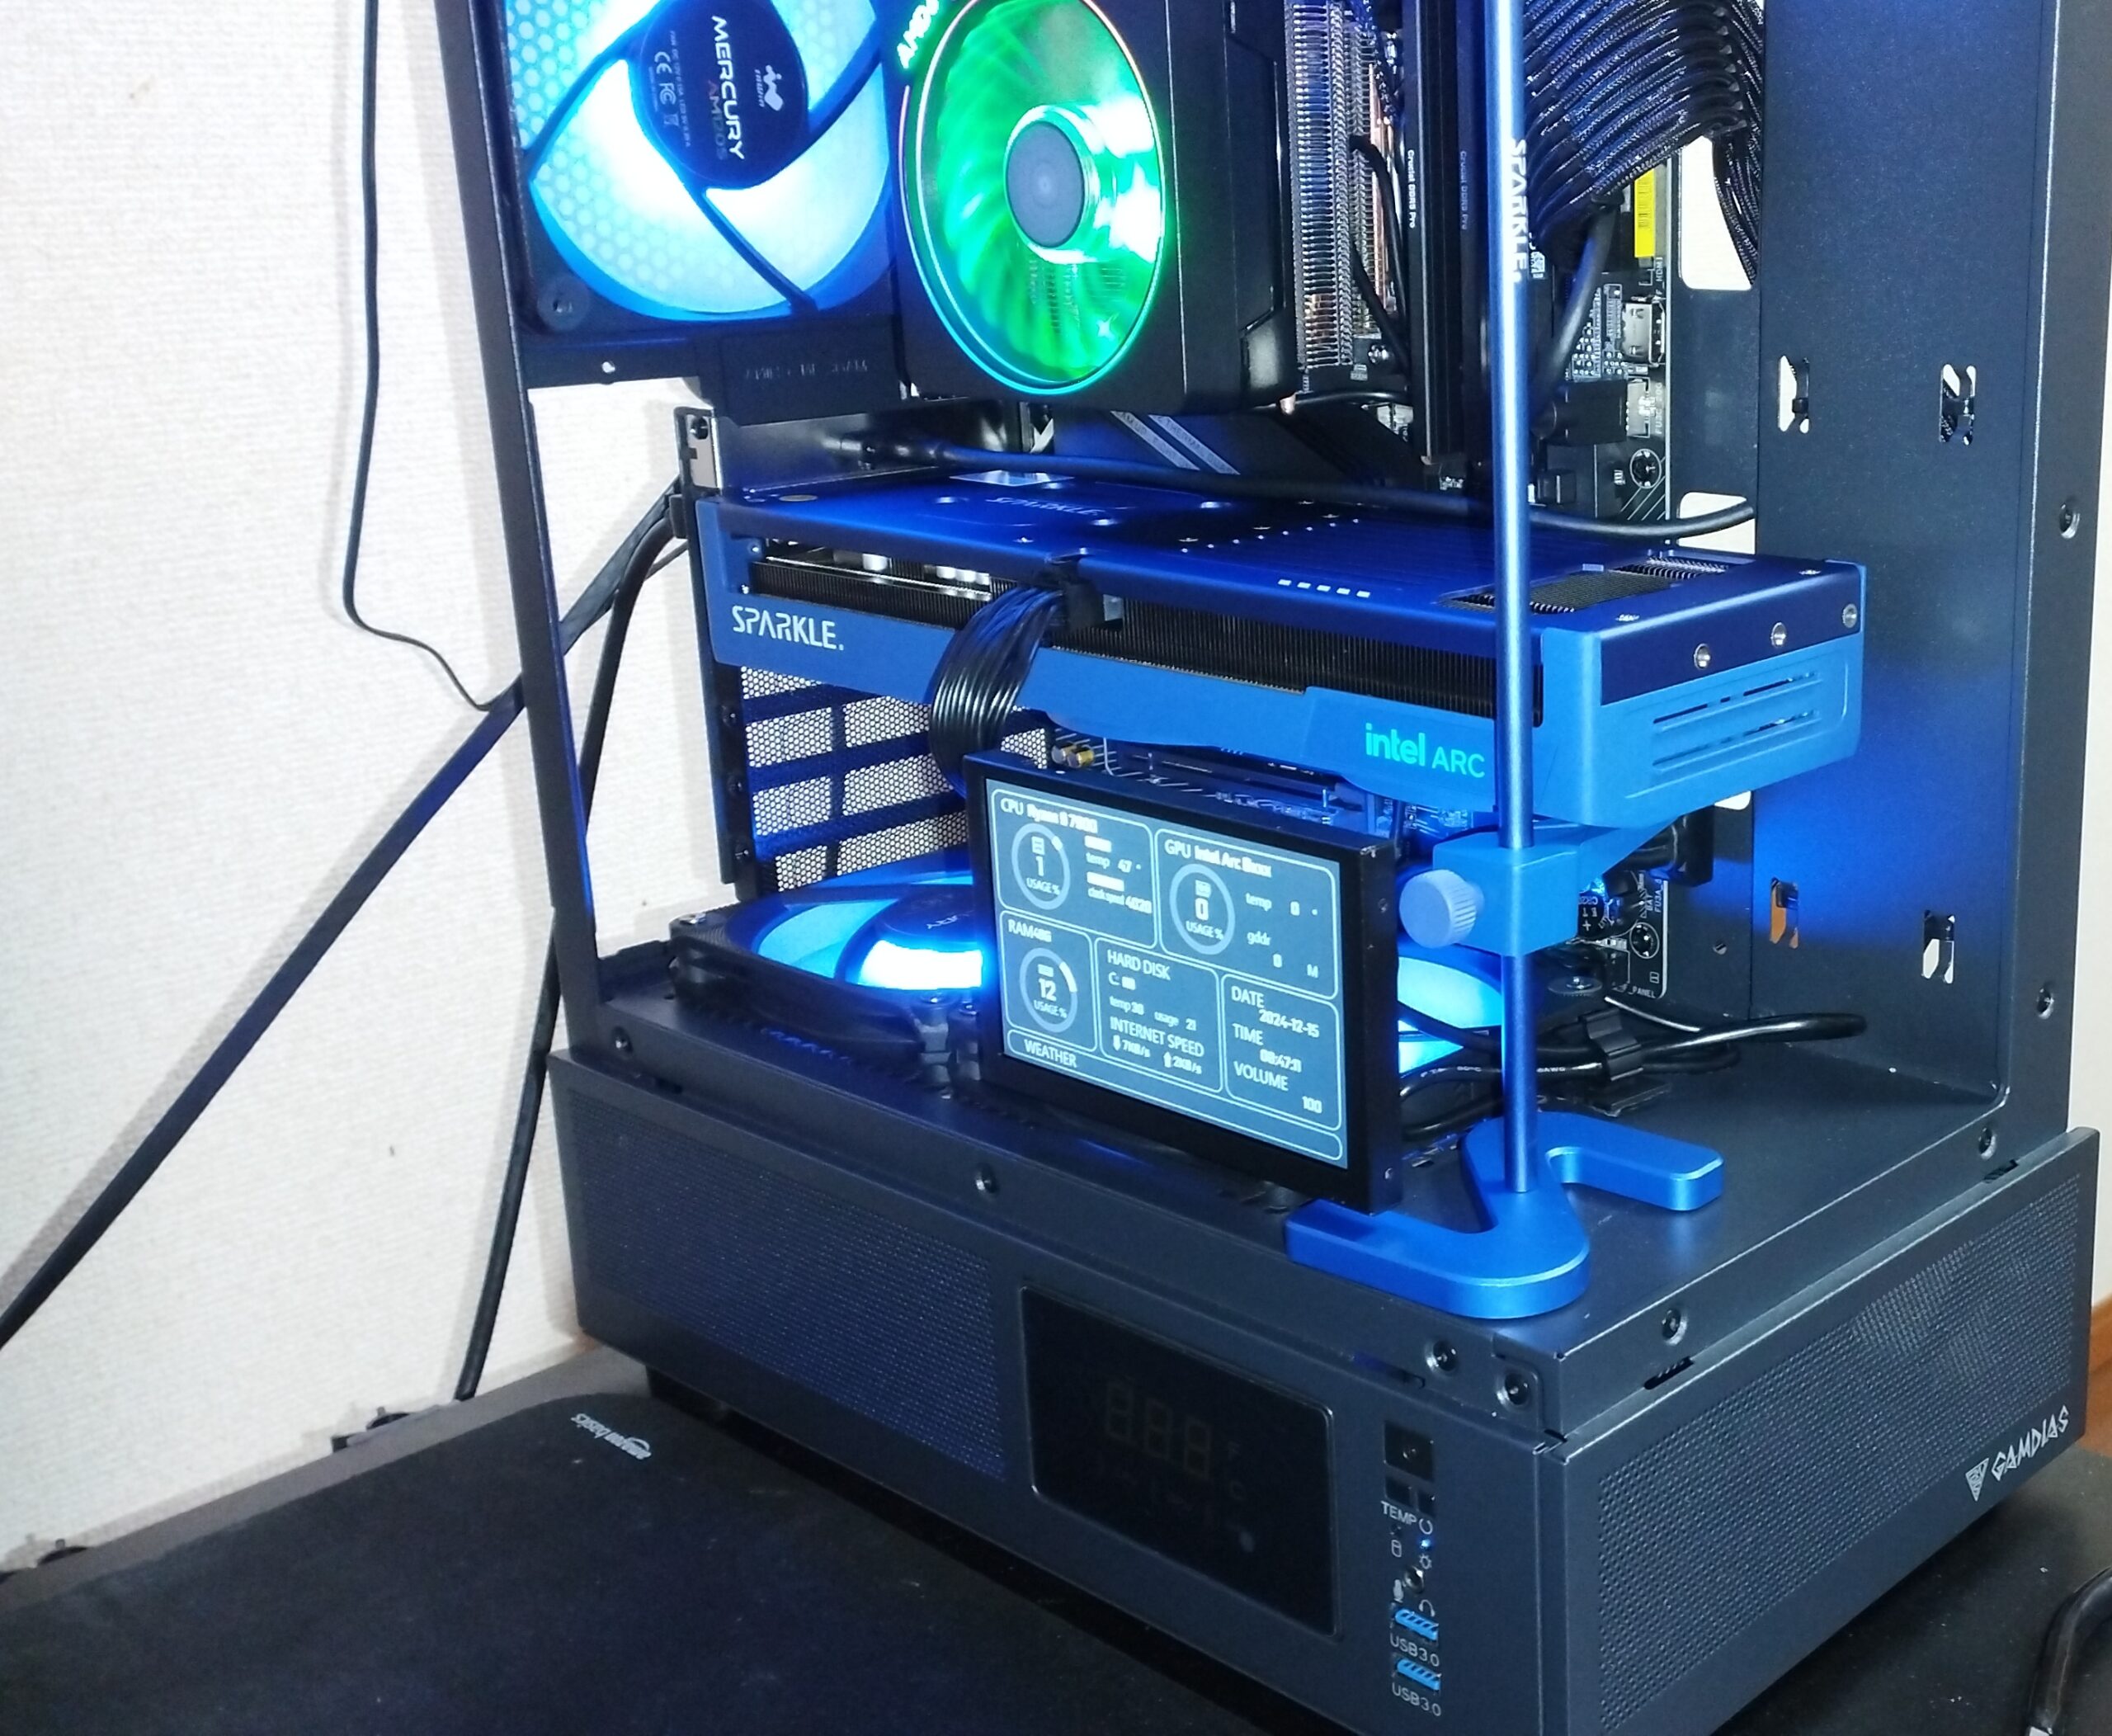
I tested “Hello Asuka Bench”, and on the Intel ARC A770, it took approximately 44 seconds.
This is almost on par with the performance I got when running it on a Radeon RX 7600 XT with Ubuntu + ROCm.
Although I haven’t tested it myself, I believe this setup is significantly faster than DirectML.
How to Restart Stable Diffusion
To start Stable Diffusion again, follow these steps:
Open Anaconda Prompt
Activate the Conda environment:
conda activate a1111Move to the A1111 directory:
cd A1111Start Stable Diffusion WebUI:
webui.bat --use-ipexThat’s it! 🚀
Conclusion
That’s all for this guide. Hope this helps, and happy experimenting!
Additional Note
I was also able to install and run everything successfully on an Intel ARC B580 using the same steps.
コメント