
Amazonのアソシエイトとして、当ブログは適格販売により収入を得ています。
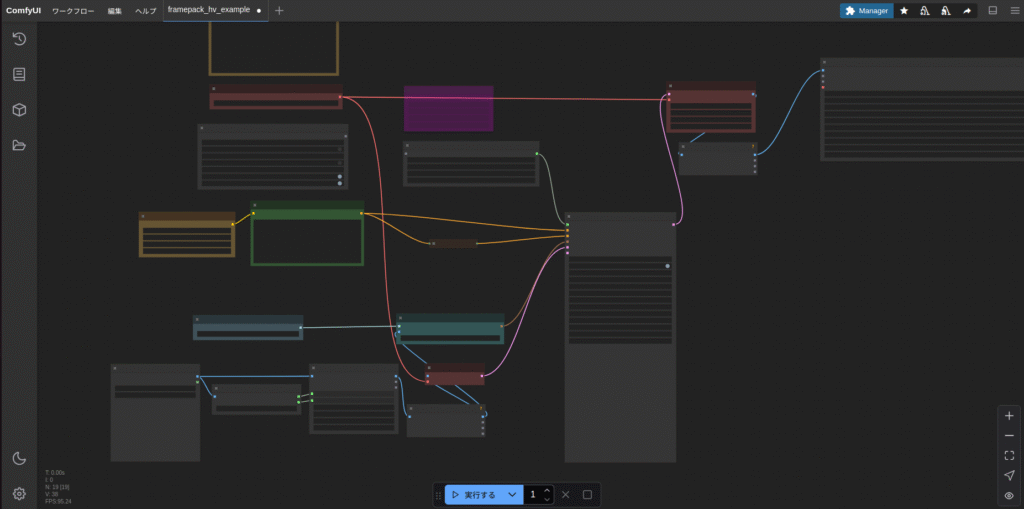
今話題のFramePackをComfyUIで動かすというのは
https://github.com/kijai/ComfyUI-FramePackWrapper
を見て知っている人もいるかと思いますが、これをIntel ARCで動かすという情報はまだないかと思います。
自分も取り急ぎ記事にしましたので、いろいろと抜け落ちている点もあるかと思いますがご容赦ください。
結論から言うと、2025/4/20現在のバージョンで動作はできました。
Ubuntu編としていますが、たぶんWindowsでも動くと思います。
2025/4/23追記
Intel ARCでFramePackをComfyUIで動かす(Windows編)
でWindows編の記事を書きました。
手順を説明します。
ComfyUIをインストール
Windowsの場合はこの記事を参考にしてください。
以下はUbuntu用です。
今回はhomeディレクトリに「AI_framepack」というフォルダを作ってその中にComfyUIをインストールしていきます。
cd ~
mkdir -p AI_framepack
cd AI_framepack
git clone https://github.com/comfyanonymous/ComfyUI.git
cd ComfyUI
次にIPEXをインストールしていきます。
https://mega.nz/folder/0WlRgIhb#eJMuN-yG-i-gDarj4jRZyg
上記リンクからB580用のpytorchをダウンロードします。
もし、自分でpytorchをビルドするつもりなら
Intel Extension for PyTorch「v2.6.10+xpu」登場
の記事などを参考にしてください。
ダウンロードしたら下記の写真のようにファイルをドロップします。
python3 -m venv venv
source ./venv/bin/activate

pip install ./intel_extension_for_pytorch-2.6.10+git6071358-cp312-cp312-linux_x86_64.whl ./oneccl_bind_pt-2.6.0+xpu-cp312-cp312-linux_x86_64.whl ./torch-2.6.0a0+git1eba9b3-cp312-cp312-linux_x86_64.whl ./torchaudio-2.6.0a0+d883142-cp312-cp312-linux_x86_64.whl ./torchvision-0.21.0+7af6987-cp312-cp312-linux_x86_64.whl
上記スクリプトでpytorchをインストールします。
もしARC Aシリーズを使っている方はファイルのダウンロードはせずに
python3 -m venv venv
source ./venv/bin/activate
python -m pip install intel-extension-for-pytorch==2.6.10+xpu oneccl_bind_pt==2.6.0+xpu --extra-index-url https://pytorch-extension.intel.com/release-whl/stable/xpu/us/
でインストールできると思います。
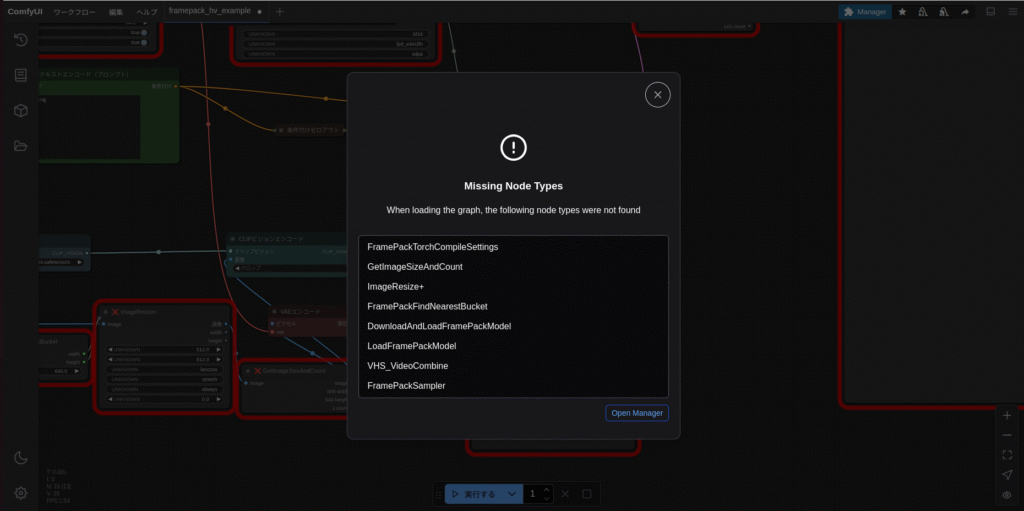
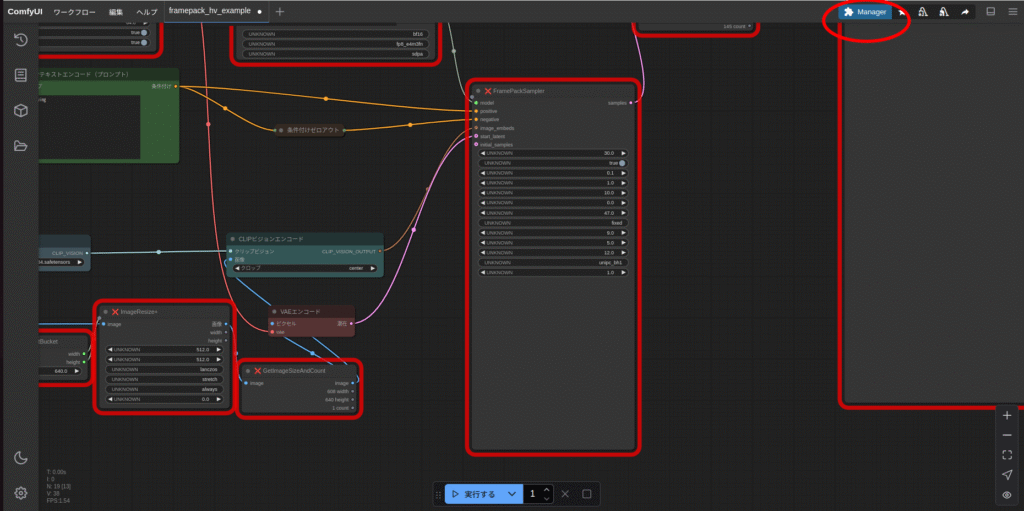
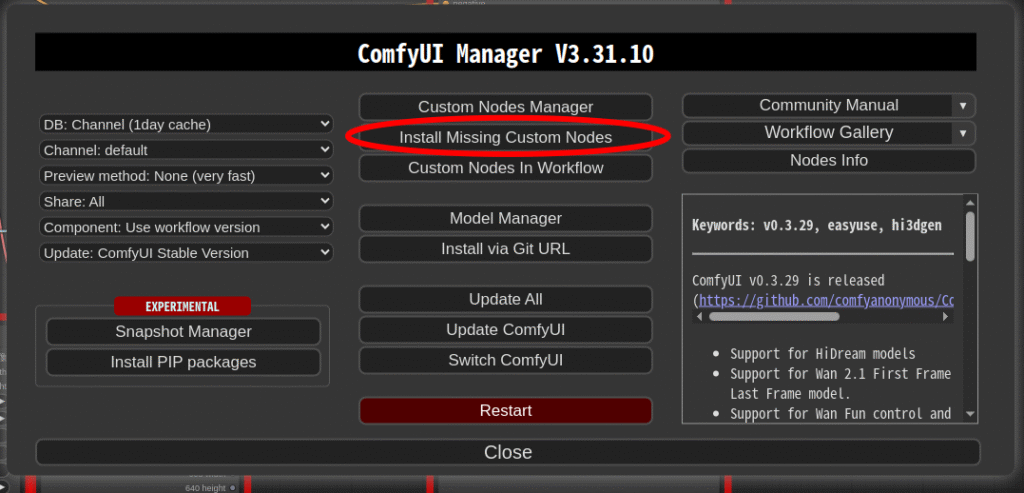
ここから「ComfyUI-Manager」と「ComfyUI-FramePackWrapper」をインストールします。「/home/test/AI_framepack/ComfyUI/custom_nodes」に移動します。
cd /home/test/AI_framepack/ComfyUI/custom_nodes

#ComfyUI-Manager
git clone https://github.com/ltdrdata/ComfyUI-Manager.git

#FramePackWrapper
git clone https://github.com/kijai/ComfyUI-FramePackWrapper.git

cd ../
source ./venv/bin/activate

#requirements.txtインストール
#FramePackWrapper
python3 -s -m pip install -r ./custom_nodes/ComfyUI-FramePackWrapper/requirements.txt
「cd /home/test/AI_framepack/ComfyUI/custom_nodes」の部分ですが、打ち消し線部分はそれぞれの環境によって変わってきます。適宜変更してください。
python main.py --auto-launchでComfyUIを起動します。
今回は実行オプションは「–auto-launch」のみです。
「–novram」は使いません。

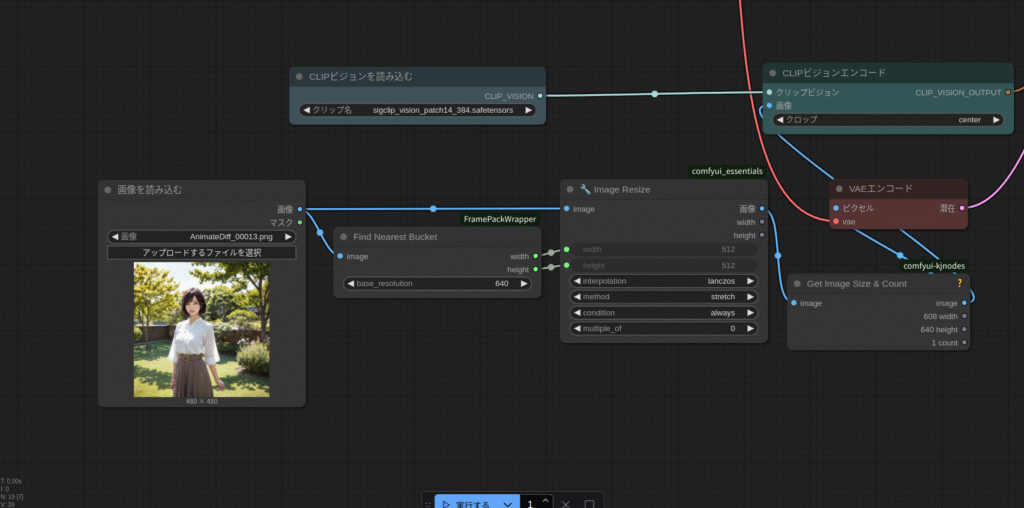
必要なモデル等ダウンロード
https://github.com/kijai/ComfyUI-FramePackWrapper
上記リンクからモデル等をダウンロードします。
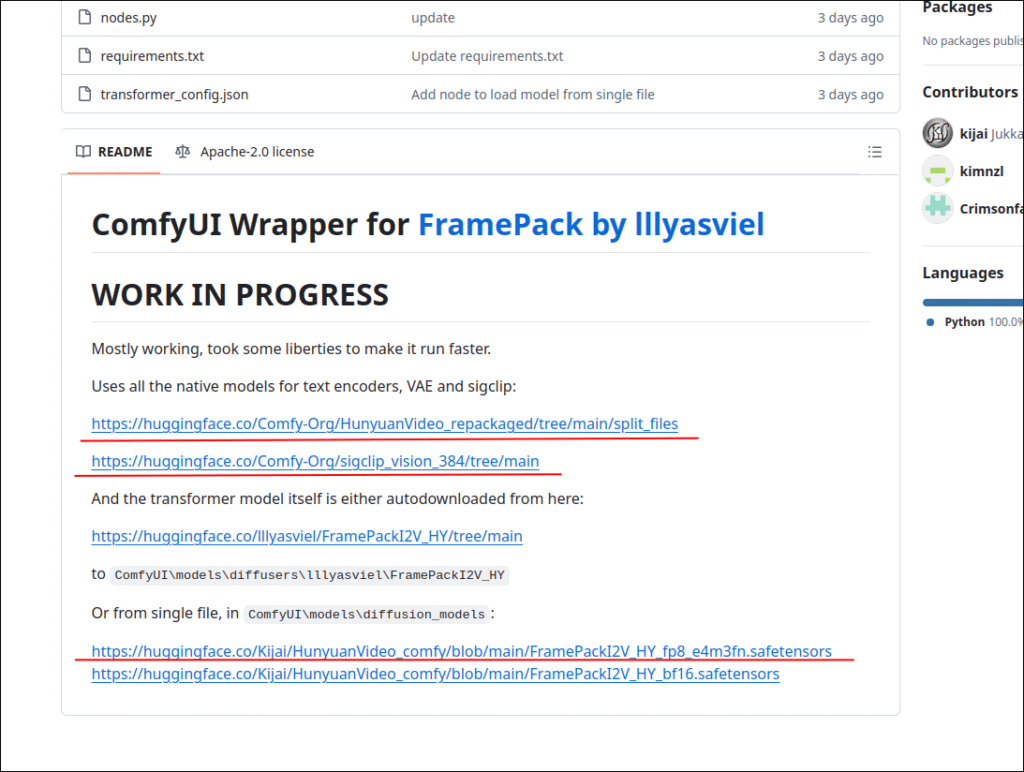
ConfyUI/models/clip_visionには
「sigclip_vision_patch14_384.safetensors」
ConfyUI/models/diffusion_modelsには
「FramePackI2V_HY_fp8_e4m3fn.safetensors」
ConfyUI/models/text_encodersには
「clip_l.safetensors」と「llava_llama3_fp8_scaled.safetensors」
ConfyUI/models/vaeには
「hunyuan_video_vae_bf16.safetensors」
をそれぞれ配置します。
memory.pyの書き換え
「/home/test/AI_framepack/ComfyUI/custom_nodes/ComfyUI-FramePackWrapper/diffusers_helper」のなかにある「memory.py」のコードはcuda用に書かれています。この中身をIntelGPUでも動作するよう書き換えます。
ちなみに上記アドレスの打ち消し線部分は自分の環境によって変わってきますので注意してください。
# By lllyasviel (XPU対応版)

import torch

cpu = torch.device('cpu')
gpu = torch.device(f"xpu:{torch.xpu.current_device()}")
gpu_complete_modules = []

class DynamicSwapInstaller:
    @staticmethod
    def _install_module(module: torch.nn.Module, **kwargs):
        original_class = module.__class__
        module.__dict__['forge_backup_original_class'] = original_class

        def hacked_get_attr(self, name: str):
            if '_parameters' in self.__dict__:
                _parameters = self.__dict__['_parameters']
                if name in _parameters:
                    p = _parameters[name]
                    if p is None:
                        return None
                    if isinstance(p, torch.nn.Parameter):
                        return torch.nn.Parameter(p.to(**kwargs), requires_grad=p.requires_grad)
                    else:
                        return p.to(**kwargs)
            if '_buffers' in self.__dict__:
                _buffers = self.__dict__['_buffers']
                if name in _buffers:
                    return _buffers[name].to(**kwargs)
            return super(original_class, self).__getattr__(name)

        module.__class__ = type('DynamicSwap_' + original_class.__name__, (original_class,), {
            '__getattr__': hacked_get_attr,
        })

        return

    @staticmethod
    def _uninstall_module(module: torch.nn.Module):
        if 'forge_backup_original_class' in module.__dict__:
            module.__class__ = module.__dict__.pop('forge_backup_original_class')
        return

    @staticmethod
    def install_model(model: torch.nn.Module, **kwargs):
        for m in model.modules():
            DynamicSwapInstaller._install_module(m, **kwargs)
        return

    @staticmethod
    def uninstall_model(model: torch.nn.Module):
        for m in model.modules():
            DynamicSwapInstaller._uninstall_module(m)
        return


def fake_diffusers_current_device(model: torch.nn.Module, target_device: torch.device):
    if hasattr(model, 'scale_shift_table'):
        model.scale_shift_table.data = model.scale_shift_table.data.to(target_device)
        return

    for _, p in model.named_modules():
        if hasattr(p, 'weight'):
            p.to(target_device)
            return


def get_cuda_free_memory_gb(device=None):
    if device is None:
        device = gpu

    if device.type == "xpu":
        try:
            props = torch.xpu.get_device_properties(device)
            total_memory = props.total_memory
            allocated = torch.xpu.memory_allocated(device)
            free = total_memory - allocated
            return free / (1024 ** 3)
        except Exception as e:
            print("[Warning] Failed to get XPU memory info:", e)
            return 0

    # fallback for CUDA (if you run on CUDA system)
    if device.type == "cuda":
        try:
            memory_stats = torch.cuda.memory_stats(device)
            bytes_active = memory_stats.get('active_bytes.all.current', 0)
            bytes_reserved = memory_stats.get('reserved_bytes.all.current', 0)
            bytes_free_cuda, _ = torch.cuda.mem_get_info(device)
            bytes_inactive_reserved = bytes_reserved - bytes_active
            bytes_total_available = bytes_free_cuda + bytes_inactive_reserved
            return bytes_total_available / (1024 ** 3)
        except Exception as e:
            print("[Warning] Failed to get CUDA memory info:", e)
            return 0

    return 0


def move_model_to_device_with_memory_preservation(model, target_device, preserved_memory_gb=0):
    print(f'Moving {model.__class__.__name__} to {target_device} with preserved memory: {preserved_memory_gb} GB')

    for m in model.modules():
        if get_cuda_free_memory_gb(target_device) <= preserved_memory_gb:
            return

        if hasattr(m, 'weight'):
            m.to(device=target_device)

    model.to(device=target_device)
    return


def offload_model_from_device_for_memory_preservation(model, target_device, preserved_memory_gb=0):
    print(f'Offloading {model.__class__.__name__} from {target_device} to preserve memory: {preserved_memory_gb} GB')

    for m in model.modules():
        if get_cuda_free_memory_gb(target_device) >= preserved_memory_gb:
            return

        if hasattr(m, 'weight'):
            m.to(device=cpu)

    model.to(device=cpu)
    return


def unload_complete_models(*args):
    for m in gpu_complete_modules + list(args):
        m.to(device=cpu)
        print(f'Unloaded {m.__class__.__name__} as complete.')

    gpu_complete_modules.clear()
    return


def load_model_as_complete(model, target_device, unload=True):
    if unload:
        unload_complete_models()

    model.to(device=target_device)
    print(f'Loaded {model.__class__.__name__} to {target_device} as complete.')

    gpu_complete_modules.append(model)
    return
上記スクリプトで動作するのは2025/4/20現在の情報です。
今後バージョンアップで動かなくなる可能性があります。
その時は、もともとの「memory.py」の中身をChatGPTに丸投げしてARCでも動くように書き換えてもらえばいいと思います。
それからもし環境によって(cv2)が足りないと表示された場合は
# 仮想環境に入っていることを確認してから
pip install opencv-python
を実行してください。
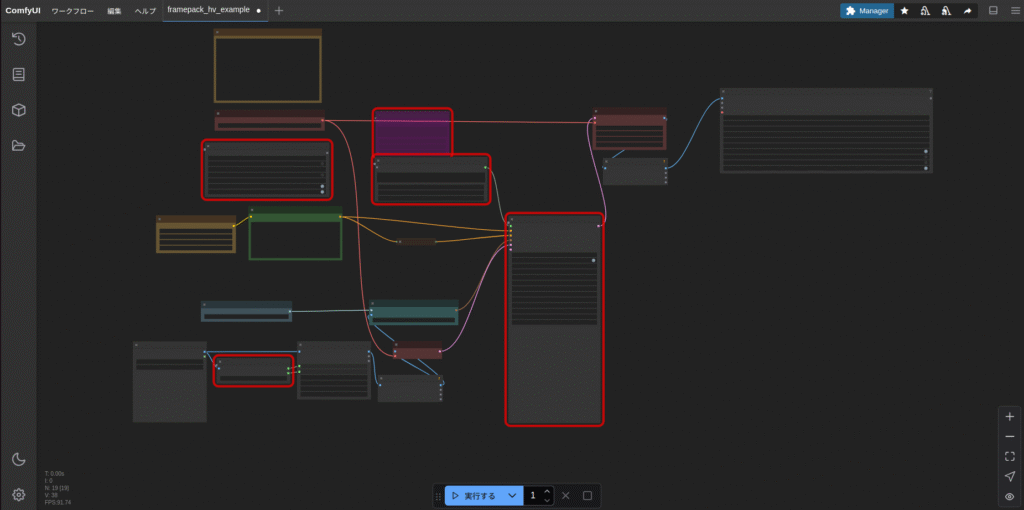
環境設定

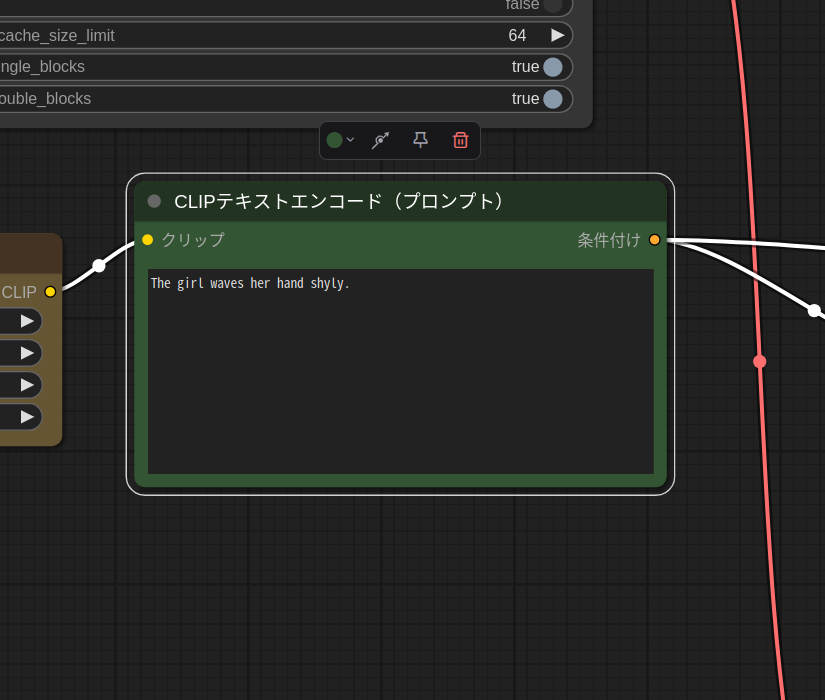
今回もベース画像はこのお姉さんにします。
では、実行してみます。
出力結果は!?
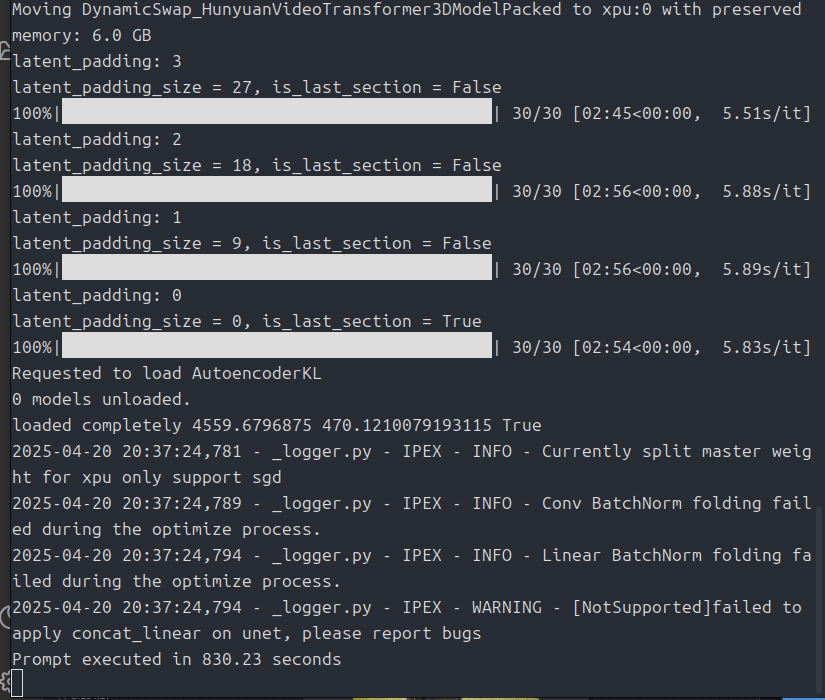
Intel ARCでもちゃんと実行できました!
ソースコードを書き換えるなんてあまりやったことなかったですが、ちゃんと動いて良かったです。
世の中cudaをベースに動いているので、こういうときマイナーなGPUだと苦労しますね
出力する動画の長さを変更したり、設定を詰めたりは今回はしていません。
記事を見た皆さんに挑戦してほしいと思います。
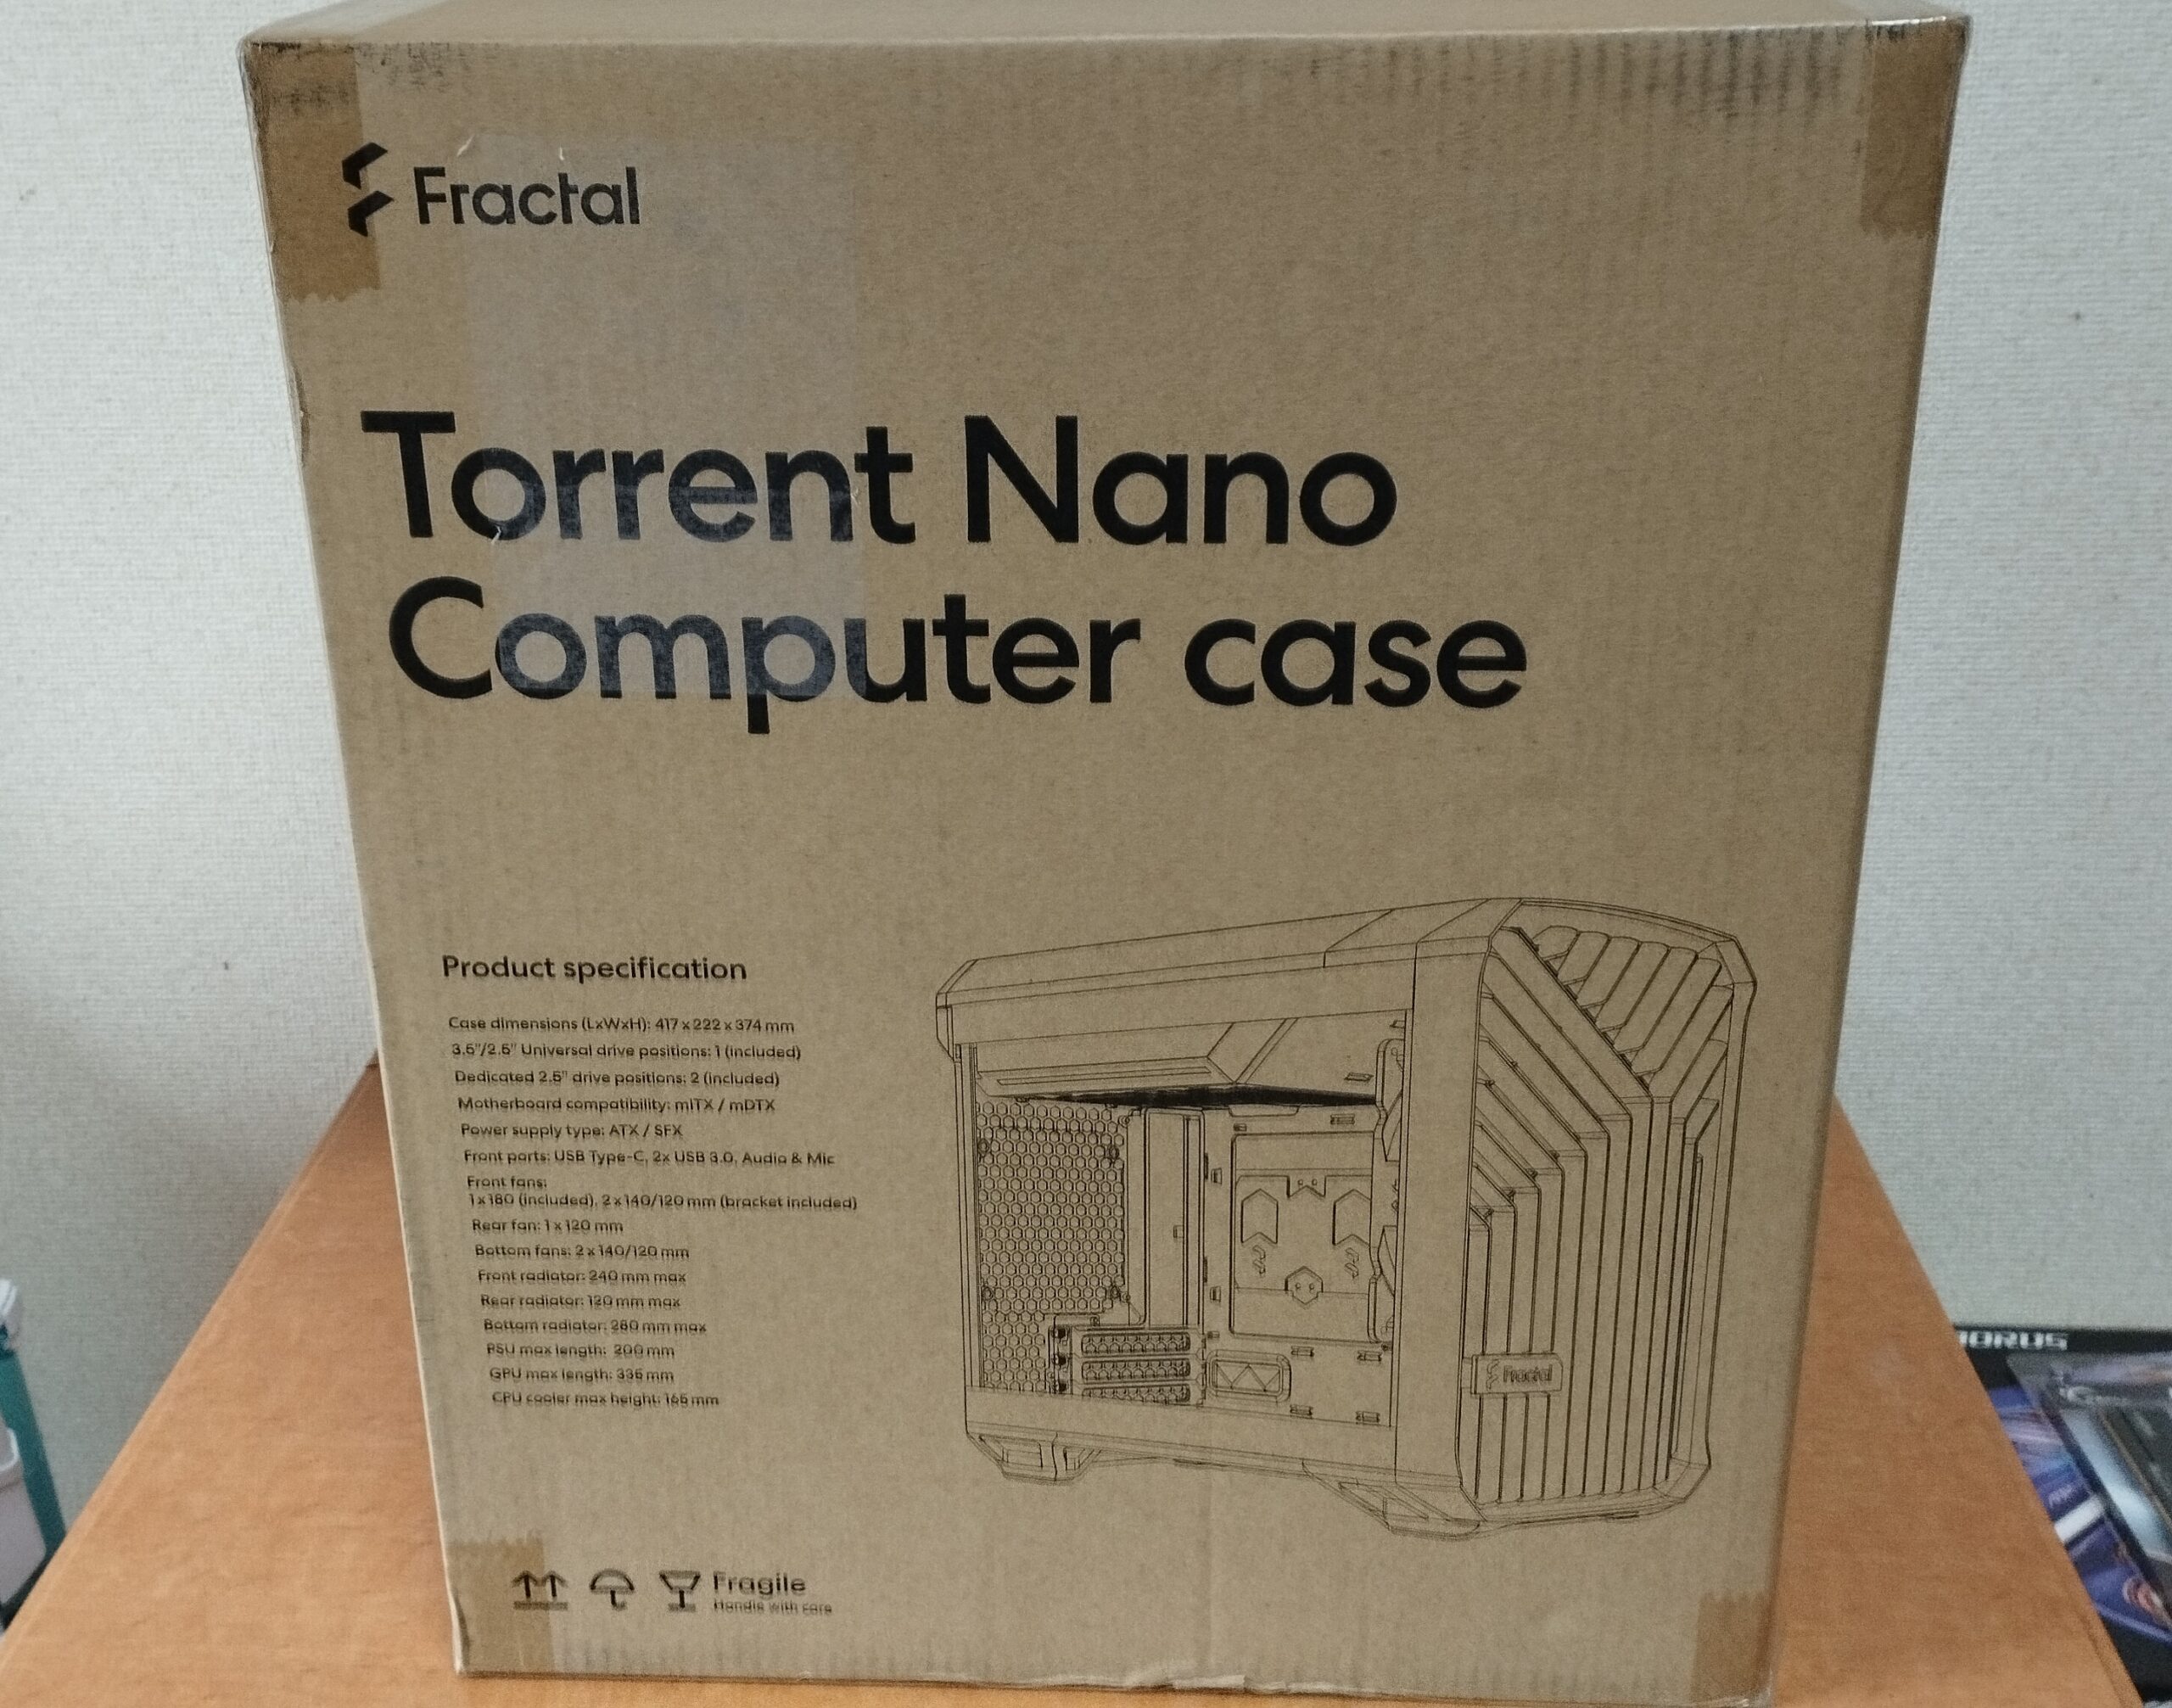
使ったグラフィックスカードはこちらです。

記事を書いた現在はこちらの方が安いみたいです。

今回は以上です。
コメント