ここで言うbattlemageは自分の使っているARC B580のことですが、Lunar Lakeを搭載したノートPCでも多分できると思います。まぁ、持ってないので試せませんし動作保証もしませんが。
24.04.2でpytorchのビルドができれば、出来上がったwhlファイルをそのまま使うことができますので、いままでやっていた「22.04でビルド→24.10で動作」なんてOSを跨ぐようなまどろっこしいことをする必要はなくなります。
まぁ、そのうちIntelがbattlemageに対応のプリビルドされたpytorchをリリースすると思います。
そうなれば、そもそもpytorchをビルドするなんて必要もなくなるでしょう。
この記事もそれまでの寿命ですが、書いていきますね。
まずは、ビルド環境を整えます
必要なファイルのインストール。
sudo apt -y update
sudo apt install -y curl
sudo apt install -y build-essential
次にドライバのインストール。
#!/bin/bash

# Install the Intel graphics GPG public key
wget -qO - https://repositories.intel.com/gpu/intel-graphics.key | \
  sudo gpg --yes --dearmor --output /usr/share/keyrings/intel-graphics.gpg

# Configure the repositories.intel.com package repository
echo "deb [arch=amd64,i386 signed-by=/usr/share/keyrings/intel-graphics.gpg] https://repositories.intel.com/gpu/ubuntu noble unified" | \
  sudo tee /etc/apt/sources.list.d/intel-gpu-noble.list

# Update the package repository metadata
sudo apt update

# Install the compute-related packages
sudo apt-get install -y libze-intel-gpu1 libze1 intel-opencl-icd clinfo intel-gsc
sudo apt-get install -y libze-dev intel-ocloc

sudo usermod -aG render $USER
sudo usermod -aG video $USER
oneAPIベースツールキットのインストール。
#!/bin/bash

sudo apt update -y

wget -O- https://apt.repos.intel.com/intel-gpg-keys/GPG-PUB-KEY-INTEL-SW-PRODUCTS.PUB | gpg --dearmor | sudo tee /usr/share/keyrings/oneapi-archive-keyring.gpg > /dev/null

echo "deb [signed-by=/usr/share/keyrings/oneapi-archive-keyring.gpg] https://apt.repos.intel.com/oneapi all main" | sudo tee /etc/apt/sources.list.d/oneAPI.list

sudo apt update -y

sudo apt install -y intel-oneapi-base-toolkit
ffmpegのインストール。
sudo apt install ffmpegminicondaのインストール。
cd ~
mkdir -p install
cd install
curl -O https://repo.anaconda.com/miniconda/Miniconda3-latest-Linux-x86_64.sh
bash ./Miniconda3-latest-Linux-x86_64.sh
ずっとenterキーで飛ばしていき、選択肢は「yes」→「そのままenter」→「no」の順番でインストールを終えます。
echo "export PATH=~/miniconda3/bin:$PATH" >> "$HOME/.bashrc"
echo "source ~/miniconda3/etc/profile.d/conda.sh" >> "$HOME/.bashrc"
source ~/.bashrc
上記スクリプトはconda環境をアクティベートするための記述。
次はconda環境を整えていきます。
#condaを最新にする
conda update -n base -c defaults conda

#conda-forgeをデフォルトチャネルに設定する
conda config --add channels conda-forge
conda config --set channel_priority strict

#conda環境を構築する
conda create -n env_test python=3.10
source activate env_test

conda update --all
stable diffusionはpython3.10で動作しますので、python3.10でビルドするよう整えます。
ここからpytorchのビルド
cd ~
mkdir -p pytorch_build
cd pytorch_build

#「.bashrc」に以下を書き込む
echo "source /opt/intel/oneapi/setvars.sh" >> "$HOME/.bashrc"
source ~/.bashrc
上記スクリプトを実行すると、conda環境がdeactivate状態になりますので
source activate env_testもう一度、activateします。
wget https://github.com/intel/intel-extension-for-pytorch/raw/v2.5.10%2Bxpu/scripts/compile_bundle.shビルドスクリプトをダウンロードして、
time bash compile_bundle.sh /opt/intel/oneapi/compiler/latest /opt/intel/oneapi/mkl/latest /opt/intel/oneapi/ccl/latest /opt/intel/oneapi/mpi/latest /opt/intel/oneapi/pti/latest lnl-m 2> >(tee -a error_log.txt >&2)ビルド開始。
「time」を付けて時間も計ってみましょう。
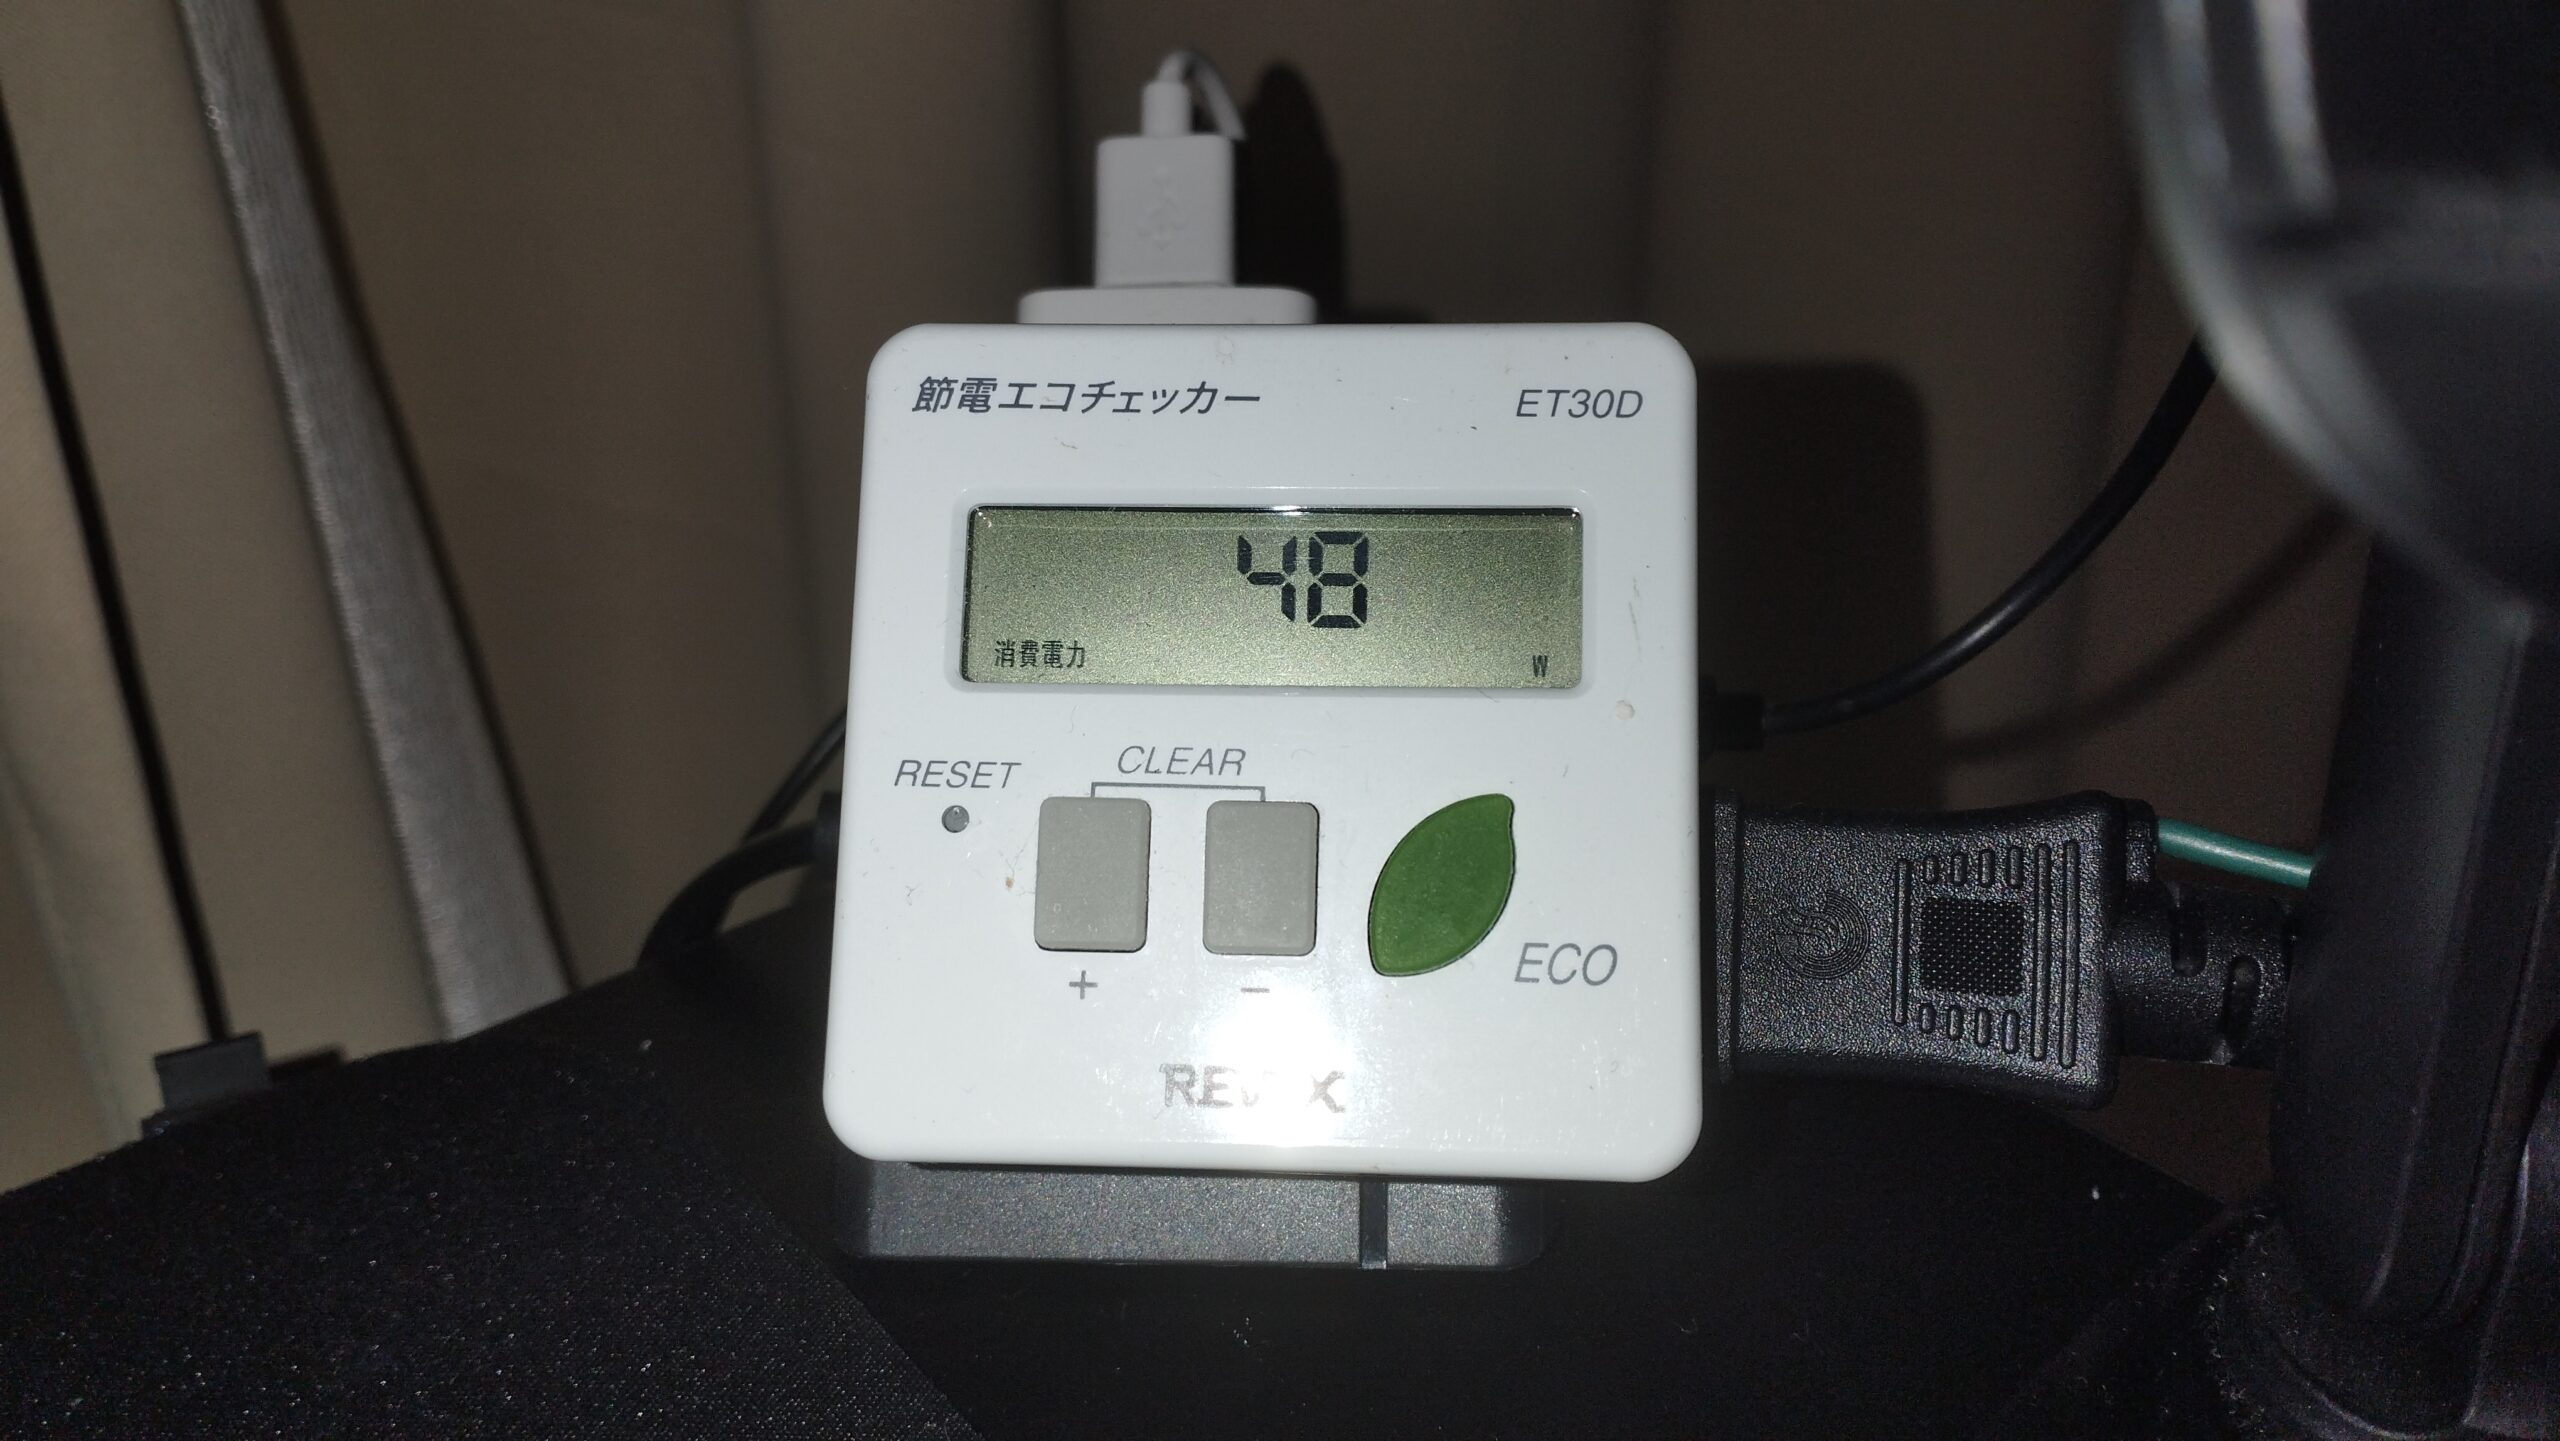
Ryzen9 7900で77分くらいかかりました。
メインメモリは30GBに迫る勢いで消費していたので、少なくとも32GBは搭載したほうが良いでしょう。
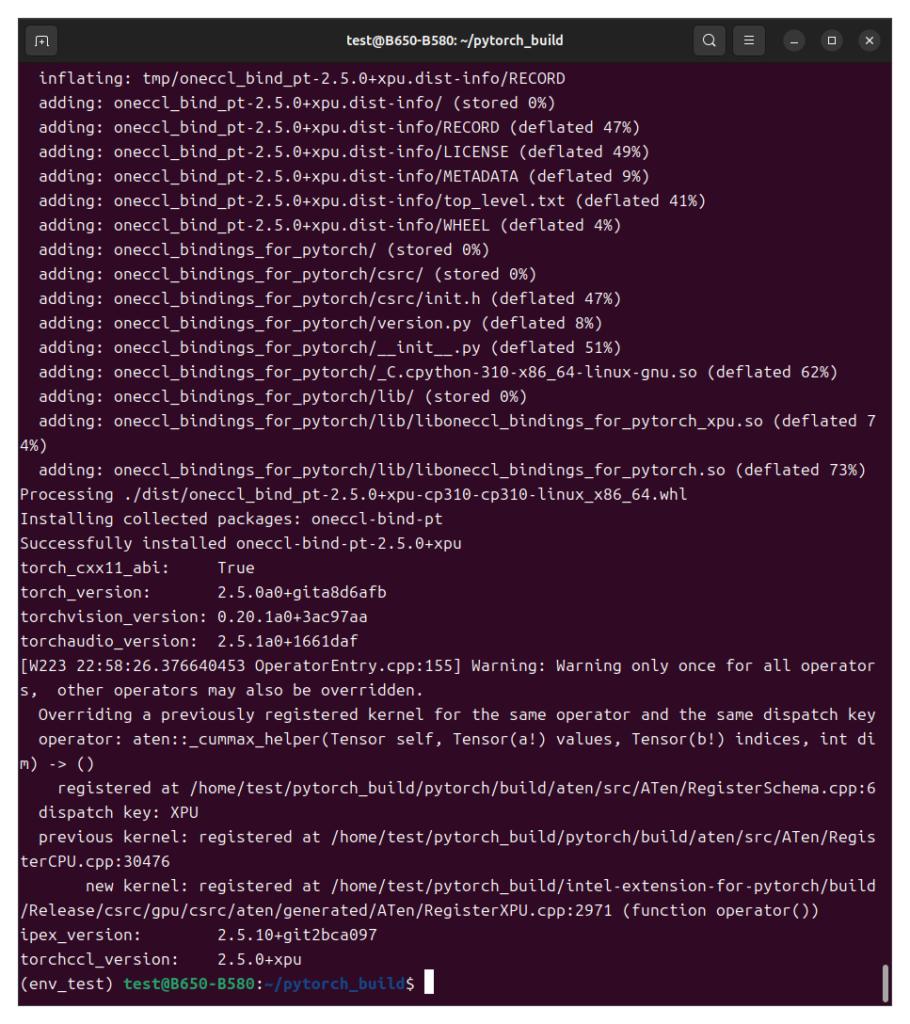
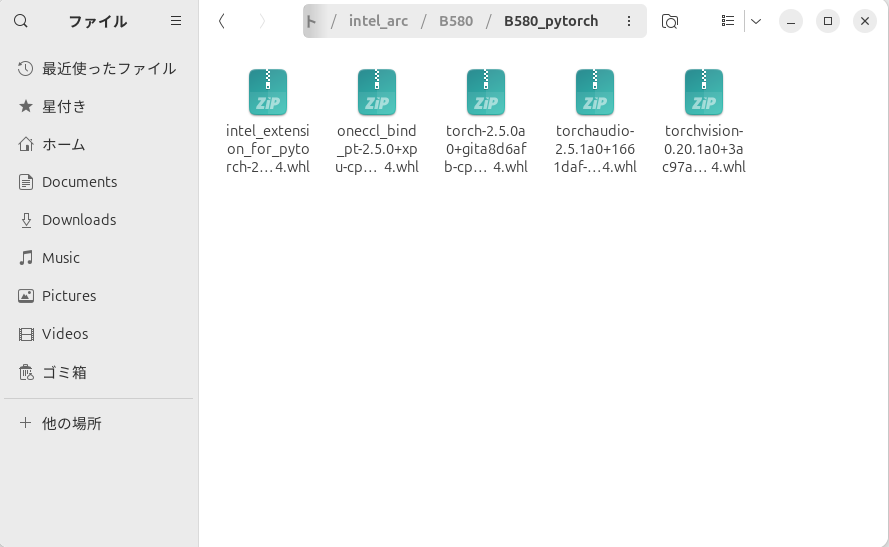
ビルドが成功すると、ホームディレクトリの中にある「pytorch_build」というフォルダの中の「intel-extension-for-pytorch」「audio」「pytorch」「torch-ccl」「vision」の各フォルダに「dist」フォルダが作成されます。
そのなかにバイナリファイル(whlファイル)が出来上がっているので、ひとまとめにしておきます。
minicondaの削除
ビルドが済んだらminicondaは必要ないので削除します。
まず「.bashrc」ファイルに手を入れます。
ホームディレクトリで「CTRL + H」で隠しファイルを表示させます。
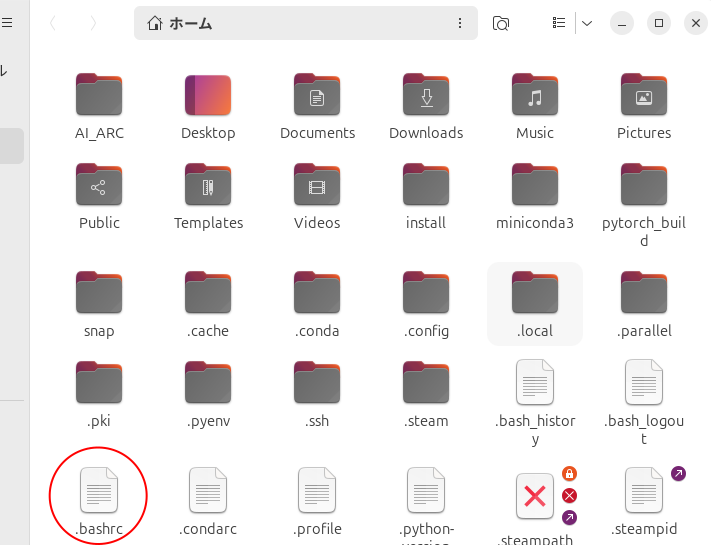
「.bashrc」を開きます。

環境によって文字列は違うかもしれませんが、「miniconda3」関連の行を削除します。
次にminiconda3を削除します。
rm -rf ~/miniconda3
rm -rf ~/.condarc ~/.conda ~/.continuum
以上でminicondaの削除は終わりです。
stable diffusionを動かしてみよう
ubuntu24.04.2は標準でpython3.12.3がインストールされていますが、これではstable diffusionは動きませんので、pyenvを用意します。
#!/bin/bash

sudo apt install git build-essential libssl-dev zlib1g-dev \
    libbz2-dev libreadline-dev libsqlite3-dev curl \
    libncursesw5-dev xz-utils tk-dev libxml2-dev libxmlsec1-dev libffi-dev liblzma-dev

git clone https://github.com/pyenv/pyenv.git ~/.pyenv

cd ~/.pyenv && src/configure && make -C src

echo 'export PYENV_ROOT="$HOME/.pyenv"' >> ~/.bashrc
echo 'command -v pyenv >/dev/null || export PATH="$PYENV_ROOT/bin:$PATH"' >> ~/.bashrc
echo 'eval "$(pyenv init -)"' >> ~/.bashrc

source ~/.bashrc

pyenv install 3.10.16
stable diffusionをインストールします。
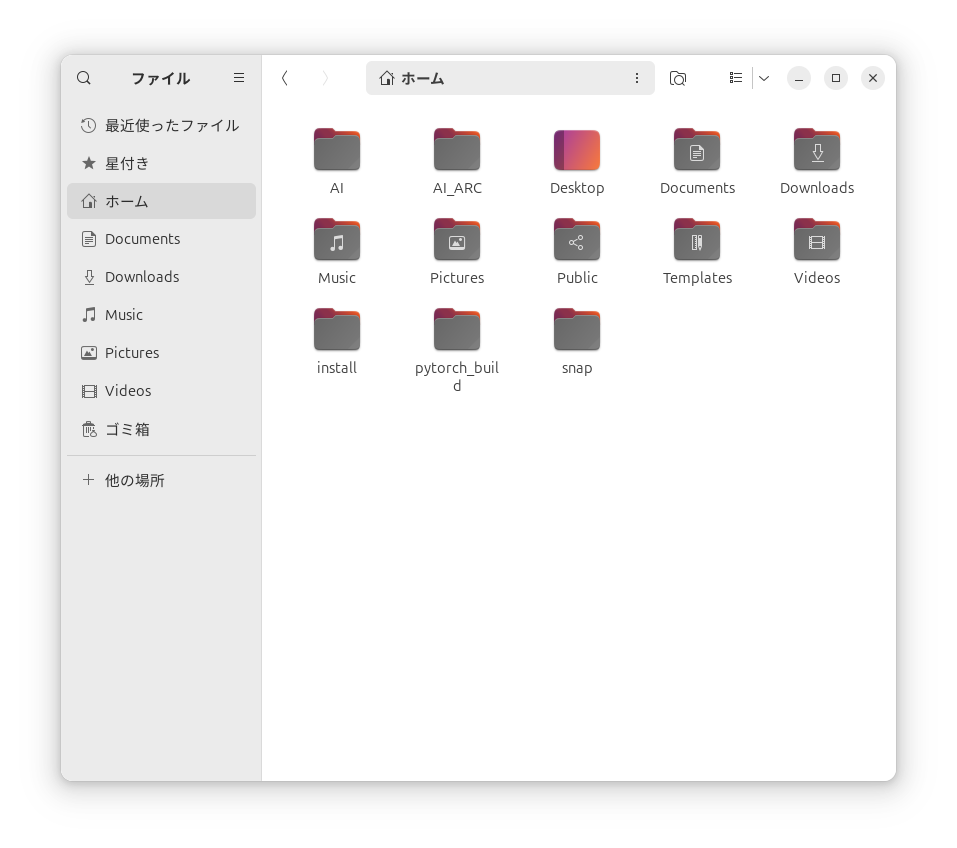
cd ~
mkdir -p AI
cd AI
pyenv local 3.10.16
git clone https://github.com/AUTOMATIC1111/stable-diffusion-webui
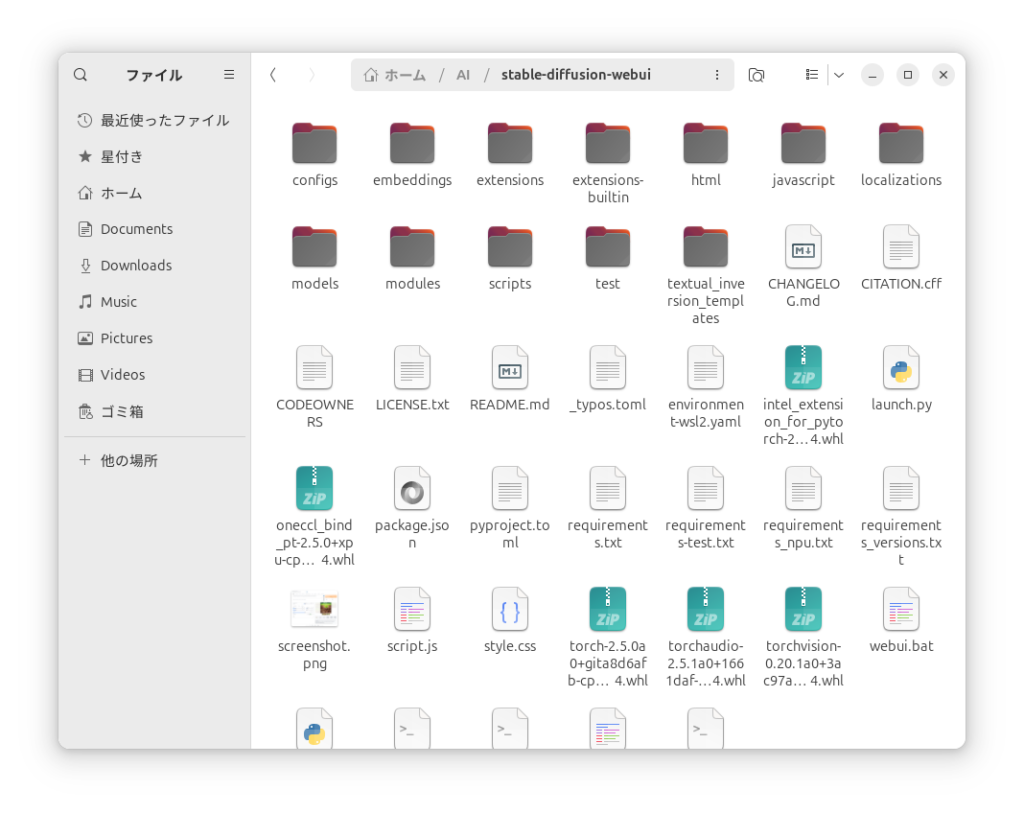
次にwhlファイルをインストールしていきます。
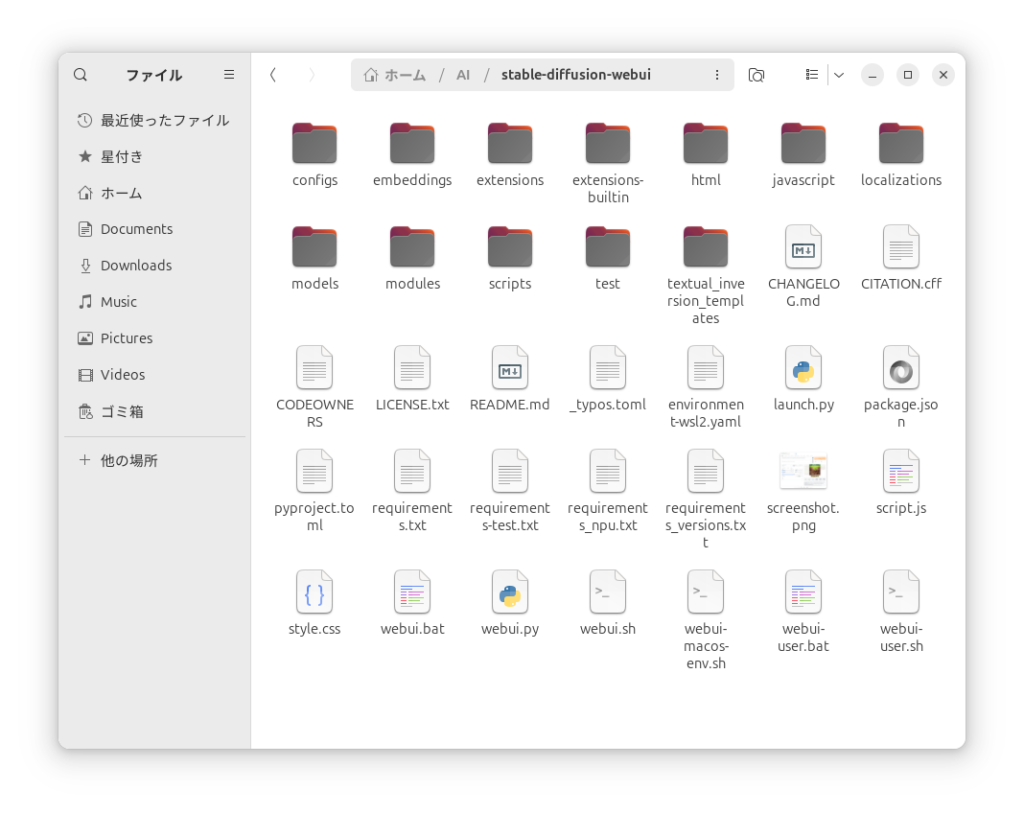
この中にwhlをコピーします。
それでは「stable diffusion webui」のフォルダでターミナルを開き
python -m venv venv
source ./venv/bin/activate

pip install ./intel_extension_for_pytorch-2.5.10+git2bca097-cp310-cp310-linux_x86_64.whl ./oneccl_bind_pt-2.5.0+xpu-cp310-cp310-linux_x86_64.whl ./torch-2.5.0a0+gita8d6afb-cp310-cp310-linux_x86_64.whl ./torchaudio-2.5.1a0+1661daf-cp310-cp310-linux_x86_64.whl ./torchvision-0.20.1a0+3ac97aa-cp310-cp310-linux_x86_64.whl
上記コマンドでpytorchをインストールします。
インストールが終わったら、
./webui.sh --use-ipexでstable diffusionを起動。

Ubuntu24.04.2の登場で、OSの間を行ったり来たりする必要がなくなったのは嬉しいですね。
今回は以上です。
コメント