Amazonのアソシエイトとして、当ブログは適格販売により収入を得ています。
前回の記事でUbuntuでFramePackをComfyUI上で動かす記事を書きましたが、今回はWindows編です。
といってもあまり変わり映えしないので記事にする意味あるのかと思いますが、やっていきましょう。
手順としては
1.Microsoft visual C++ 再頒布可能パッケージのインストール
2.gitをインストール
3.minicondaをインストール
4.Anaconda promptでconda環境をつくる。
5.ComfyUIをインストール
6.モデルデータのダウンロードとコピペ
7.conda環境にてIPEXをインストール
8.カスタムノードの「FramePackWrapper」をインストール
9.memory.pyをIntel ARCで動作するように書き換える
10.ComfyUIを「–lowvram」オプションで立ち上げる
の以上になります。
環境を作りComfyUIをインストールする
1,2,3の手順は以前の記事を参考にしてください。
minicondaをインストールしてconda promptを立ち上げた状態から
conda create -n test_env python=3.12
conda activate test_env
git clone https://github.com/comfyanonymous/ComfyUI.git framepack_comfyui
cd framepack_comfyui
を実行します。環境名は自分が分かればなんでもいいです。
モデルデータのダウンロードとコピペ
https://github.com/kijai/ComfyUI-FramePackWrapper
上記リンクからモデル等をダウンロードします。
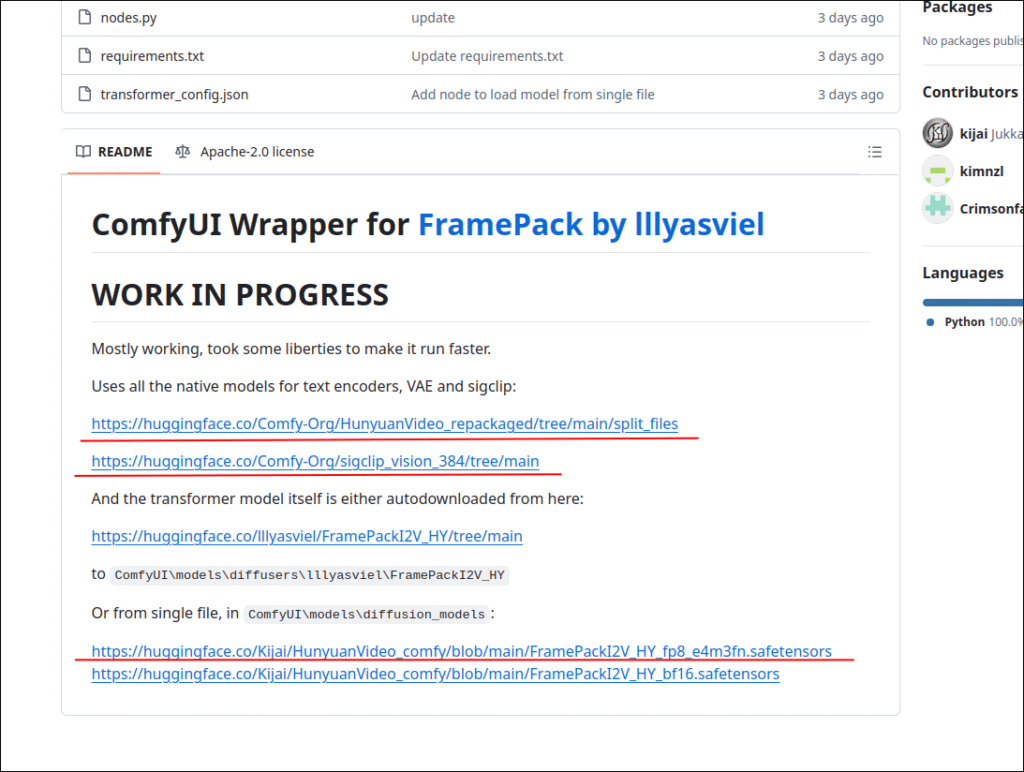
自分の環境では「C:\Users\test\framepack_comfyui\models」がモデルを置いておく場所になります。testのところは自分のユーザー名なので人によって違うので気を付けましょう。
C:\Users\test\framepack_comfyui\models\clip_visionには
「sigclip_vision_patch14_384.safetensors」
C:\Users\test\framepack_comfyui\models\diffusion_modelsには
「FramePackI2V_HY_fp8_e4m3fn.safetensors」
C:\Users\test\framepack_comfyui\models\text_encodersには
「clip_l.safetensors」と「llava_llama3_fp8_scaled.safetensors」
C:\Users\test\framepack_comfyui\models\vaeには
「hunyuan_video_vae_bf16.safetensors」
をそれぞれ配置します。
conda環境にてIPEXをインストール
conda promptが立ち上がっている状態ならそのまま下記のコマンドを実行していきます。
もし閉じてしまった人はもう一度立ち上げて「cd framepack_comfyui」でカレントディレクトリを移動してください。
python -m venv venv
venv\Scripts\activate.bat

conda install libuv
python -m pip install torch==2.5.1+cxx11.abi torchvision==0.20.1+cxx11.abi torchaudio==2.5.1+cxx11.abi intel-extension-for-pytorch==2.5.10+xpu --extra-index-url https://pytorch-extension.intel.com/release-whl/stable/bmg/us/

pip install -r requirements.txt
バージョンが古いですが、こちらの方がエラーも出ないので個人的にはおススメです。
もし最新のバージョンでもエラーが出ない(あるいはエラーがでても実行はできる)場合は最新を使いましょう。
カスタムノードの「FramePackWrapper」をインストール
実際は「FramePackWrapper」だけでなく「ComfyUI-Manager」もインストールします。
conda promptが立ち上がっている状態ならそのまま下記のコマンドを実行していきます。
もし閉じてしまった人はもう一度立ち上げてください。
cd C:\Users\test\framepack_comfyui\custom_nodes

git clone https://github.com/ltdrdata/ComfyUI-Manager.git
git clone https://github.com/kijai/ComfyUI-FramePackWrapper.git

cd ..\
venv\Scripts\activate.bat

python -s -m pip install -r ./custom_nodes/ComfyUI-FramePackWrapper/requirements.txt
以上で、カスタムノードのインストールは終了です。
memory.pyをIntel ARCで動作するように書き換える
「C:\Users\test\framepack_comfyui\custom_nodes\ComfyUI-FramePackWrapper\diffusers_helper」のなかの「memory.py」を書き換えます。
以前の記事でも書きましたが、そのままではcuda用のパイソンコードになってますのでIntel ARC用に書き直します。
# By lllyasviel (XPU対応版)

import torch

cpu = torch.device('cpu')
gpu = torch.device(f"xpu:{torch.xpu.current_device()}")
gpu_complete_modules = []

class DynamicSwapInstaller:
    @staticmethod
    def _install_module(module: torch.nn.Module, **kwargs):
        original_class = module.__class__
        module.__dict__['forge_backup_original_class'] = original_class

        def hacked_get_attr(self, name: str):
            if '_parameters' in self.__dict__:
                _parameters = self.__dict__['_parameters']
                if name in _parameters:
                    p = _parameters[name]
                    if p is None:
                        return None
                    if isinstance(p, torch.nn.Parameter):
                        return torch.nn.Parameter(p.to(**kwargs), requires_grad=p.requires_grad)
                    else:
                        return p.to(**kwargs)
            if '_buffers' in self.__dict__:
                _buffers = self.__dict__['_buffers']
                if name in _buffers:
                    return _buffers[name].to(**kwargs)
            return super(original_class, self).__getattr__(name)

        module.__class__ = type('DynamicSwap_' + original_class.__name__, (original_class,), {
            '__getattr__': hacked_get_attr,
        })

        return

    @staticmethod
    def _uninstall_module(module: torch.nn.Module):
        if 'forge_backup_original_class' in module.__dict__:
            module.__class__ = module.__dict__.pop('forge_backup_original_class')
        return

    @staticmethod
    def install_model(model: torch.nn.Module, **kwargs):
        for m in model.modules():
            DynamicSwapInstaller._install_module(m, **kwargs)
        return

    @staticmethod
    def uninstall_model(model: torch.nn.Module):
        for m in model.modules():
            DynamicSwapInstaller._uninstall_module(m)
        return


def fake_diffusers_current_device(model: torch.nn.Module, target_device: torch.device):
    if hasattr(model, 'scale_shift_table'):
        model.scale_shift_table.data = model.scale_shift_table.data.to(target_device)
        return

    for _, p in model.named_modules():
        if hasattr(p, 'weight'):
            p.to(target_device)
            return


def get_cuda_free_memory_gb(device=None):
    if device is None:
        device = gpu

    if device.type == "xpu":
        try:
            props = torch.xpu.get_device_properties(device)
            total_memory = props.total_memory
            allocated = torch.xpu.memory_allocated(device)
            free = total_memory - allocated
            return free / (1024 ** 3)
        except Exception as e:
            print("[Warning] Failed to get XPU memory info:", e)
            return 0

    # fallback for CUDA (if you run on CUDA system)
    if device.type == "cuda":
        try:
            memory_stats = torch.cuda.memory_stats(device)
            bytes_active = memory_stats.get('active_bytes.all.current', 0)
            bytes_reserved = memory_stats.get('reserved_bytes.all.current', 0)
            bytes_free_cuda, _ = torch.cuda.mem_get_info(device)
            bytes_inactive_reserved = bytes_reserved - bytes_active
            bytes_total_available = bytes_free_cuda + bytes_inactive_reserved
            return bytes_total_available / (1024 ** 3)
        except Exception as e:
            print("[Warning] Failed to get CUDA memory info:", e)
            return 0

    return 0


def move_model_to_device_with_memory_preservation(model, target_device, preserved_memory_gb=0):
    print(f'Moving {model.__class__.__name__} to {target_device} with preserved memory: {preserved_memory_gb} GB')

    for m in model.modules():
        if get_cuda_free_memory_gb(target_device) <= preserved_memory_gb:
            return

        if hasattr(m, 'weight'):
            m.to(device=target_device)

    model.to(device=target_device)
    return


def offload_model_from_device_for_memory_preservation(model, target_device, preserved_memory_gb=0):
    print(f'Offloading {model.__class__.__name__} from {target_device} to preserve memory: {preserved_memory_gb} GB')

    for m in model.modules():
        if get_cuda_free_memory_gb(target_device) >= preserved_memory_gb:
            return

        if hasattr(m, 'weight'):
            m.to(device=cpu)

    model.to(device=cpu)
    return


def unload_complete_models(*args):
    for m in gpu_complete_modules + list(args):
        m.to(device=cpu)
        print(f'Unloaded {m.__class__.__name__} as complete.')

    gpu_complete_modules.clear()
    return


def load_model_as_complete(model, target_device, unload=True):
    if unload:
        unload_complete_models()

    model.to(device=target_device)
    print(f'Loaded {model.__class__.__name__} to {target_device} as complete.')

    gpu_complete_modules.append(model)
    return
元のmemory.pyの中身をまるまる書き直しましょう。
ComfyUIを「–lowvram」オプションで立ち上げる
自分が試した2025/4/23現在では「–lowvram」オプションを付けないとVRAMが足りなくなって処理速度がものすごく落ちます。
そのうち改善されるかもしれませんが今は仕方ありません。
conda promptが立ち上がっている状態ならそのまま下記のコマンドを実行していきます。
もし閉じてしまった人はもう一度立ち上げてください。
cd framepack_comfyui
venv\Scripts\activate.bat
python main.py --auto-launch --lowvram
ちなみに上記コマンドは、Windowsを起動してから、もう一度ComfyUIを立ち上げる時にも使えます。
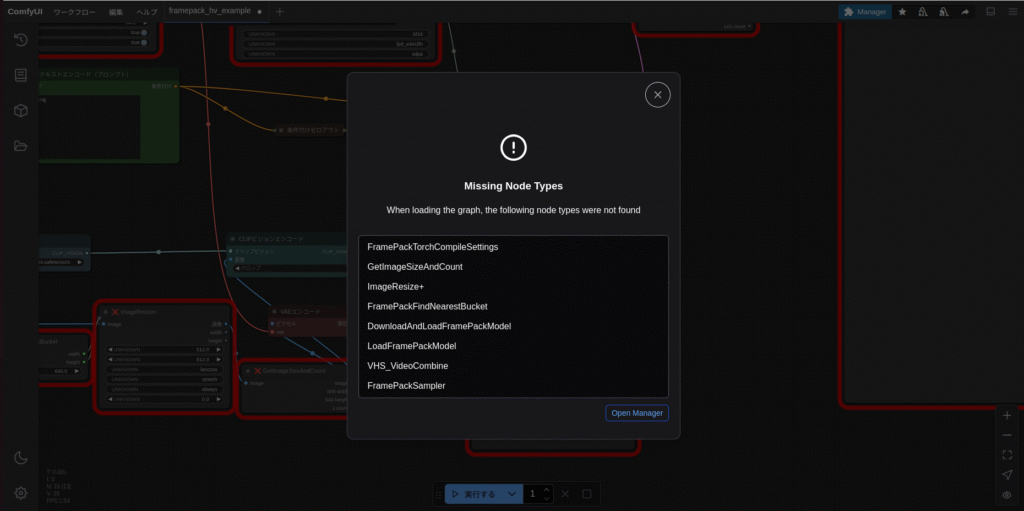
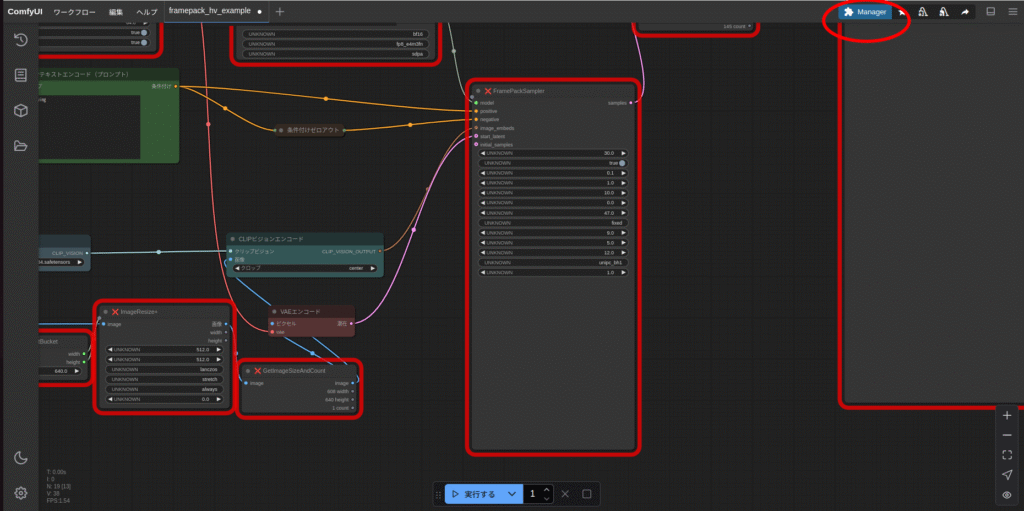
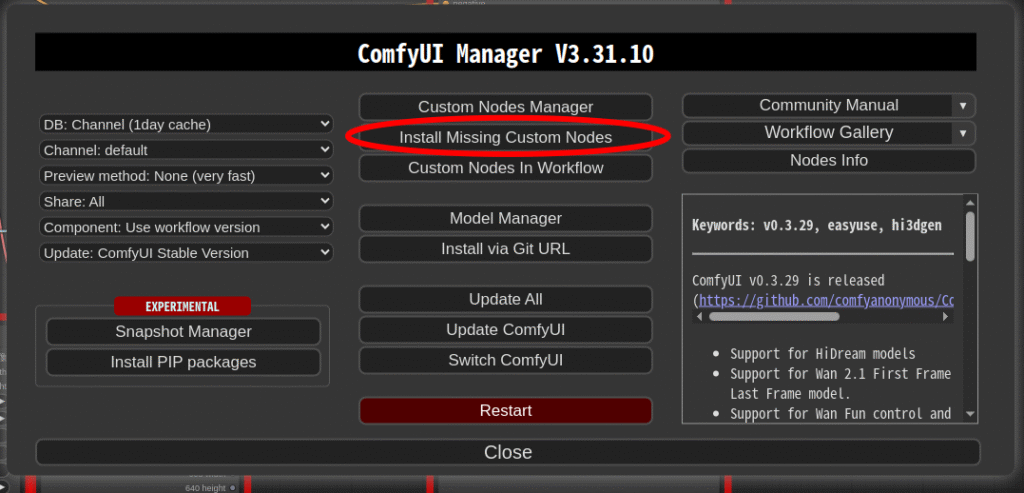
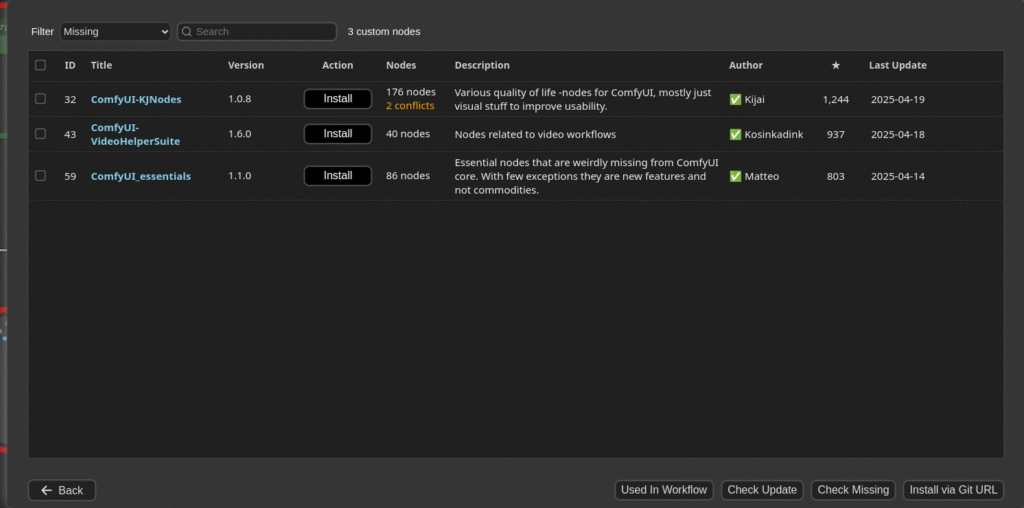
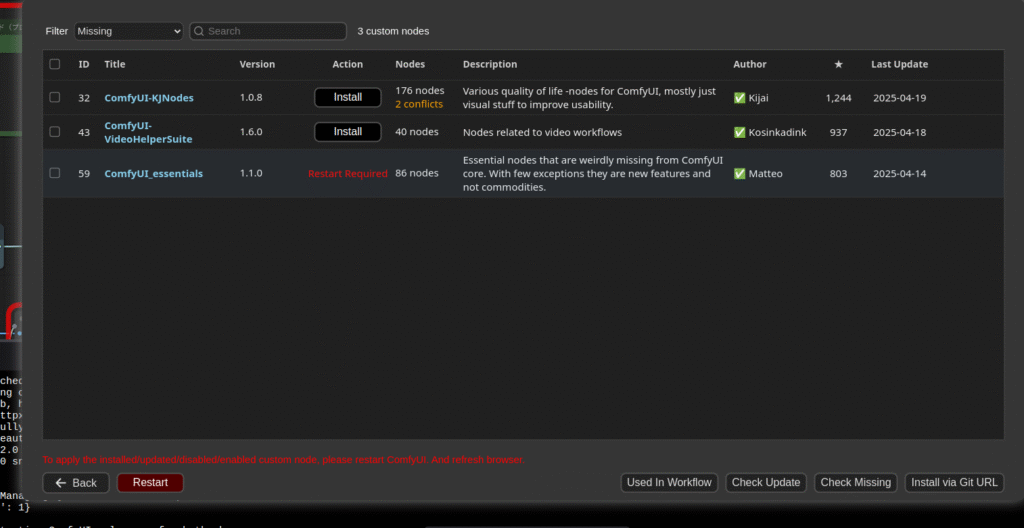
ComfyUI-Managerで足りないツールをインストール
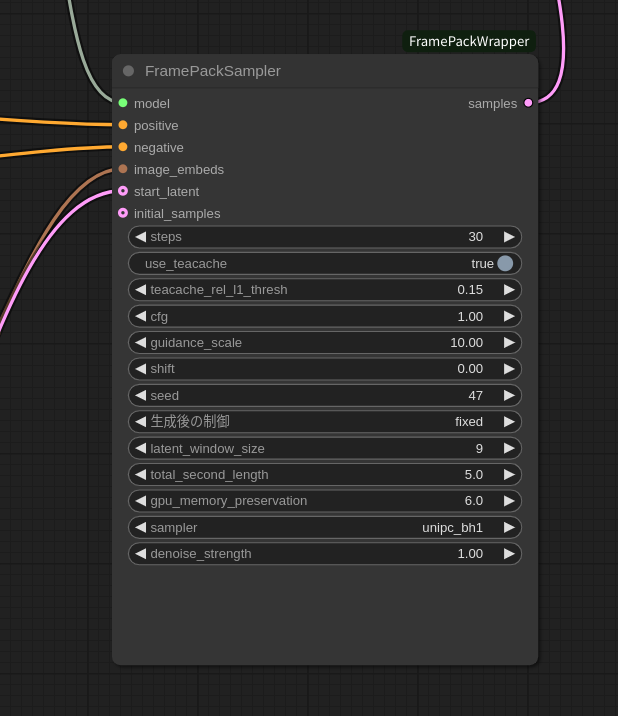
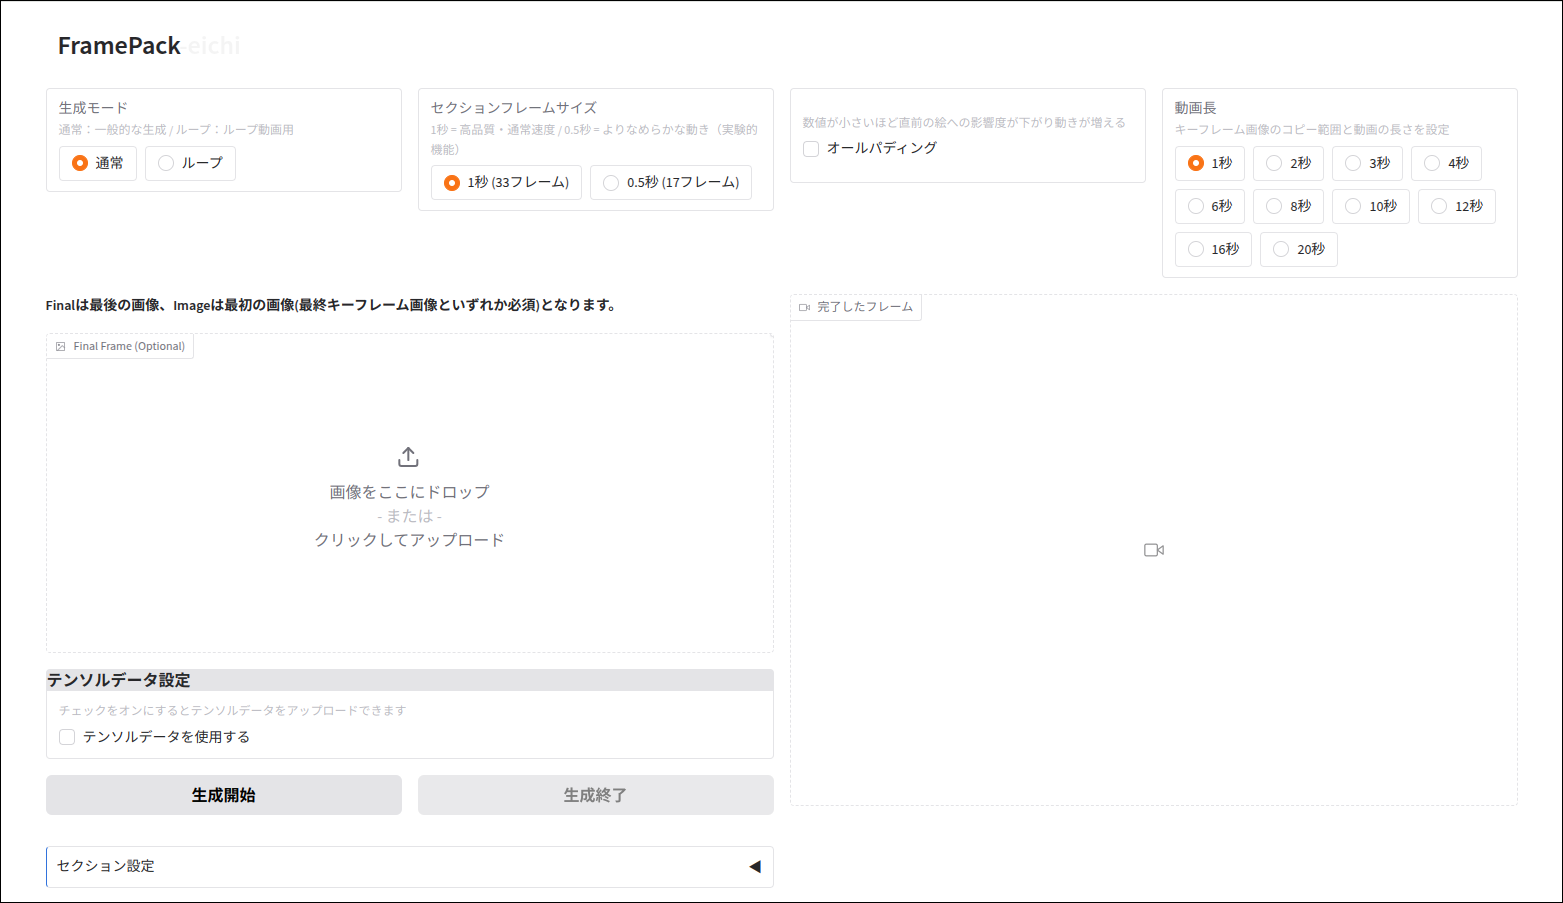
「C:\Users\test\framepack_comfyui\custom_nodes\ComfyUI-FramePackWrapper\example_workflows」の中に、FramePackを使うためのワークフロー「framepack_hv_example.json」があります。
このファイルをComfyUIの画面上のどこでもいいのでドラッグアンドドロップします。
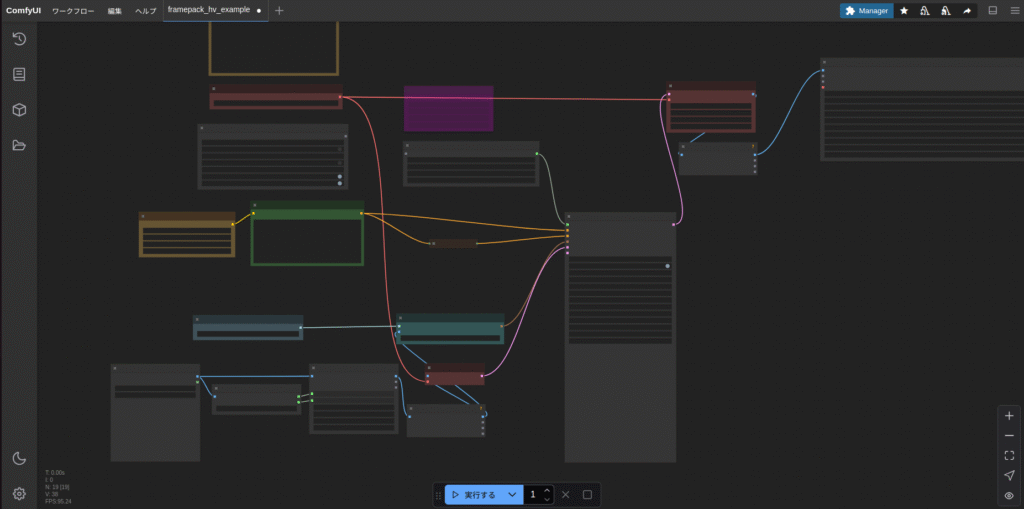
あとは実行

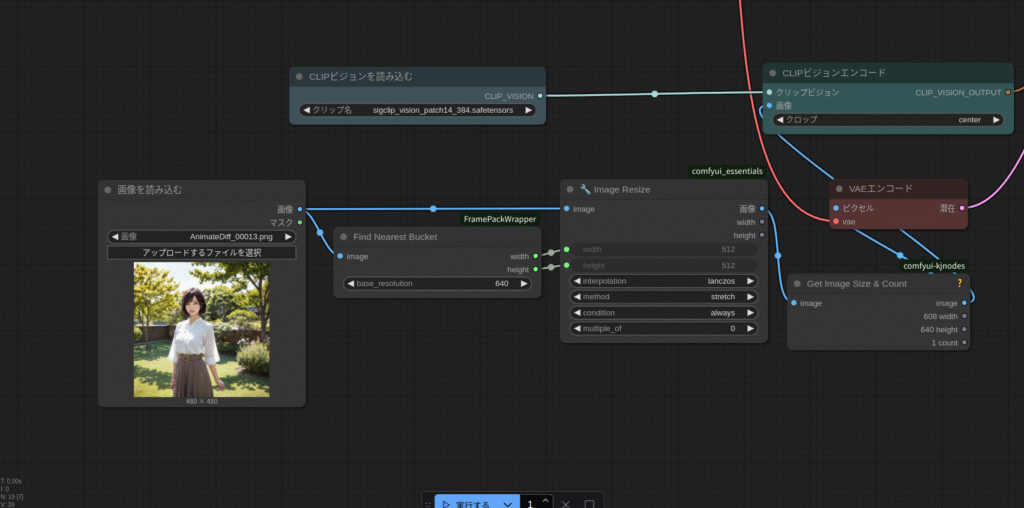
今回もベース画像はこのお姉さんにします。
では、実行してみます。
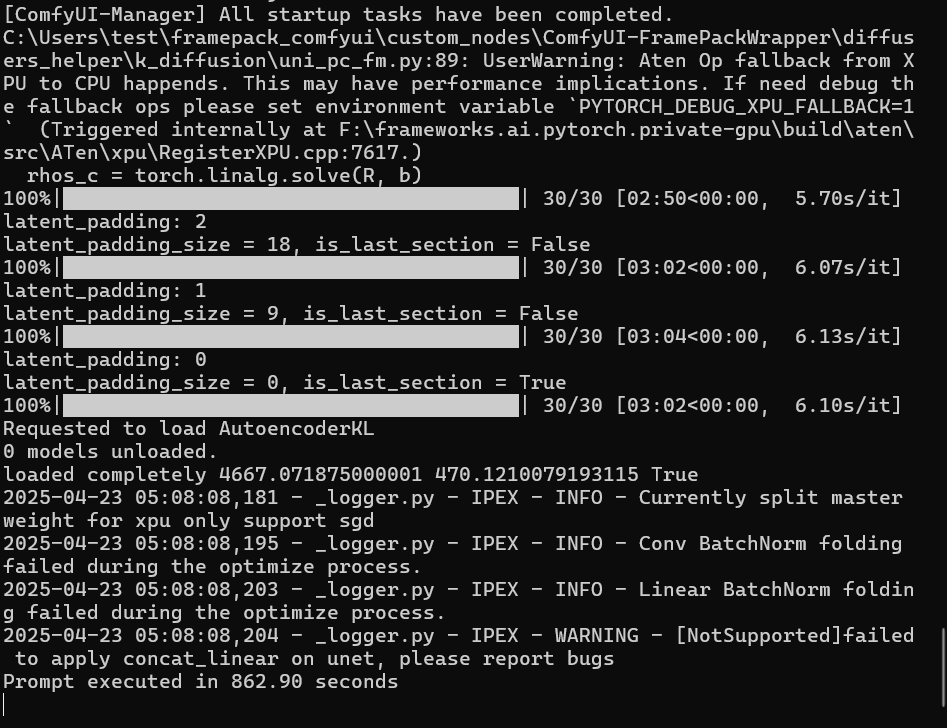
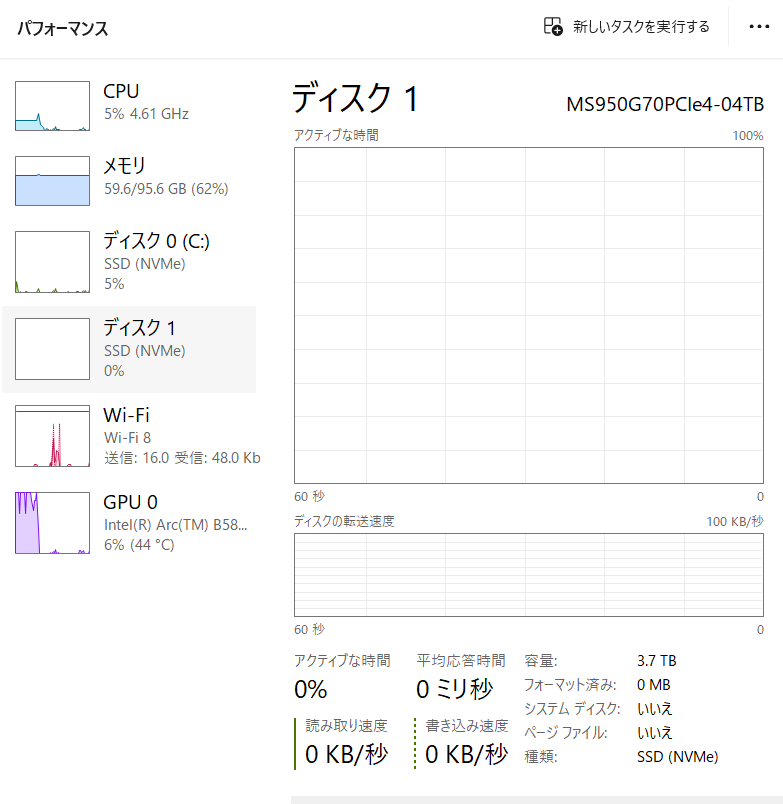
「–lowvram」オプションのせいかメインメモリの使用量はUbuntuの時より多いみたいです。
出力された動画はseed値が同じだったのもあって全く同じようです。
速度も大差ないように見えますが若干遅いかなといったところ。
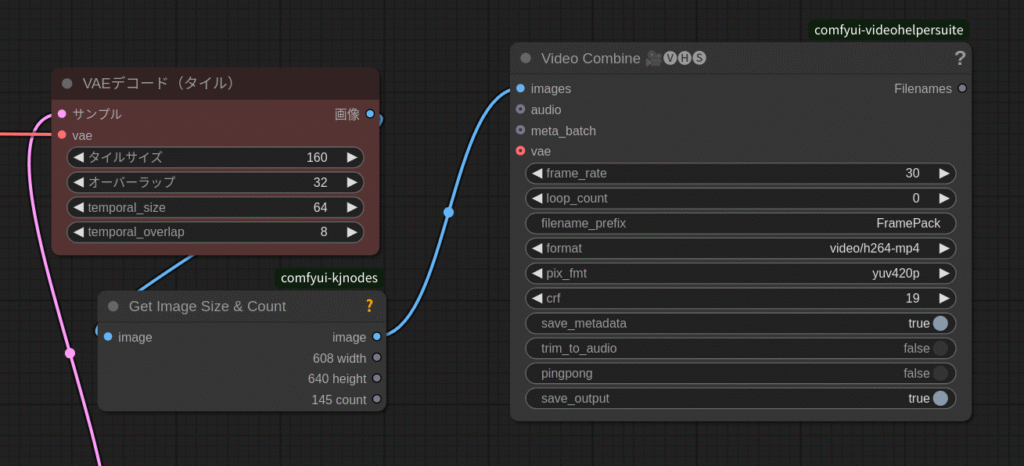
本当は本家の「FramePack」でやろうと思っていたのですが、「demo_gradio.py」の書き換えがうまくいきませんでした。動作はするんですが、VAEでメモリーオーバーフローを起こします。
ComfyUIには「VAEデコードタイル」があるので対応はできるのですが、ちょっと残念です。
今回使ったB580です。

Challenger安くなってますね。

今回は以上です。

コメント